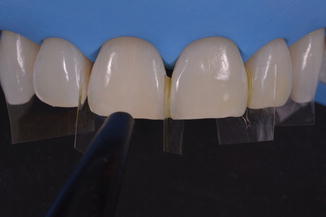
Fig. 14.1
(a) Preoperative view of the patient’s smile. (b) Preoperative view of the patient’s maxillary anterior teeth. Note the reduced length of the anterior teeth
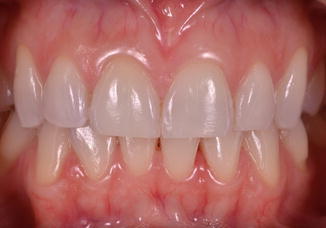
Fig. 14.2
Aspect of anterior teeth after 14 days of at-home whitening. The patient was satisfied with the lighter color of her teeth
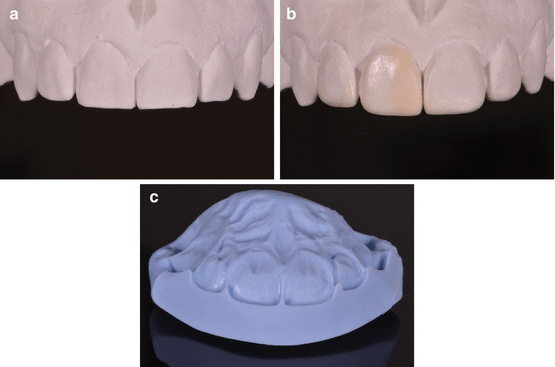
Fig. 14.3
(a) Stone model of maxillary anterior teeth. (b) The stone model was waxed-up to establish a harmonious length and shape of the anterior teeth. The patient was very happy with this blueprint of her teeth. (c) A matrix made of putty-consistency VPS (vinylpolysiloxane) impression material was prepared from the waxed-up model. This silicone index was used as guidance for the lingual contour and to establish the new incisal edge position
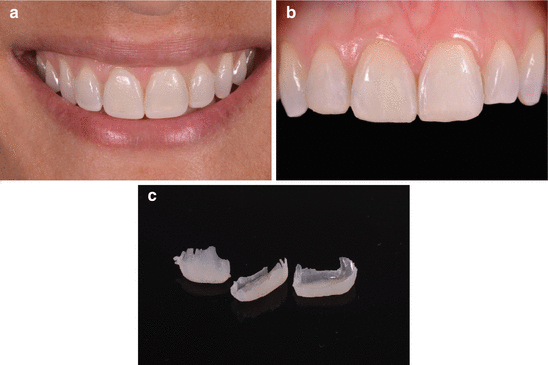
Fig. 14.4
(a) A mock-up was made with bis-acryl composite (Protemp 4 (also known as Protemp Plus), 3M ESPE) to allow the patient to foresee the esthetic outcome of the new restorations. (b) Diagnostic resin-based composite restorations were made prior to the adhesive procedure, to verify the stratification and thickness of each composite layer and the color. (c) Diagnostic restoration upon removal
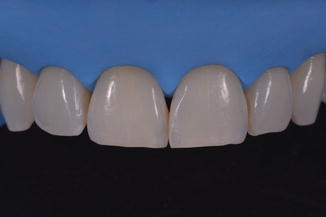
Fig. 14.5
Teeth were cleaned with a suspension of pumice and water and thoroughly washed with water. Area was isolated with rubber dam
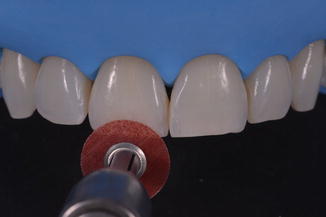
Fig. 14.6
Enamel was roughened with Sof-Lex disks (3M ESPE)
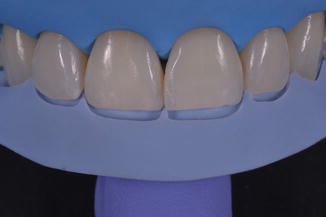
Fig. 14.7
The VPS matrix was tried-in
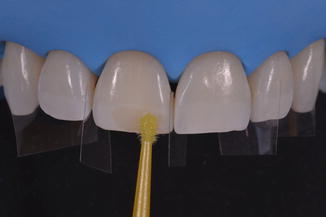
Fig. 14.8
The teeth were etched with 32 % phosphoric acid (Scotchbond Universal Etchant, 3M ESPE) for 15 s. The etchant was thoroughly rinsed for 20 s. The two-step etch-and-rinse adhesive (Adper Single Bond Plus (also known as Adper Scotchbond 1 XT and Adper Single Bond 2), 3M ESPE) was vigorously applied for 15 s
