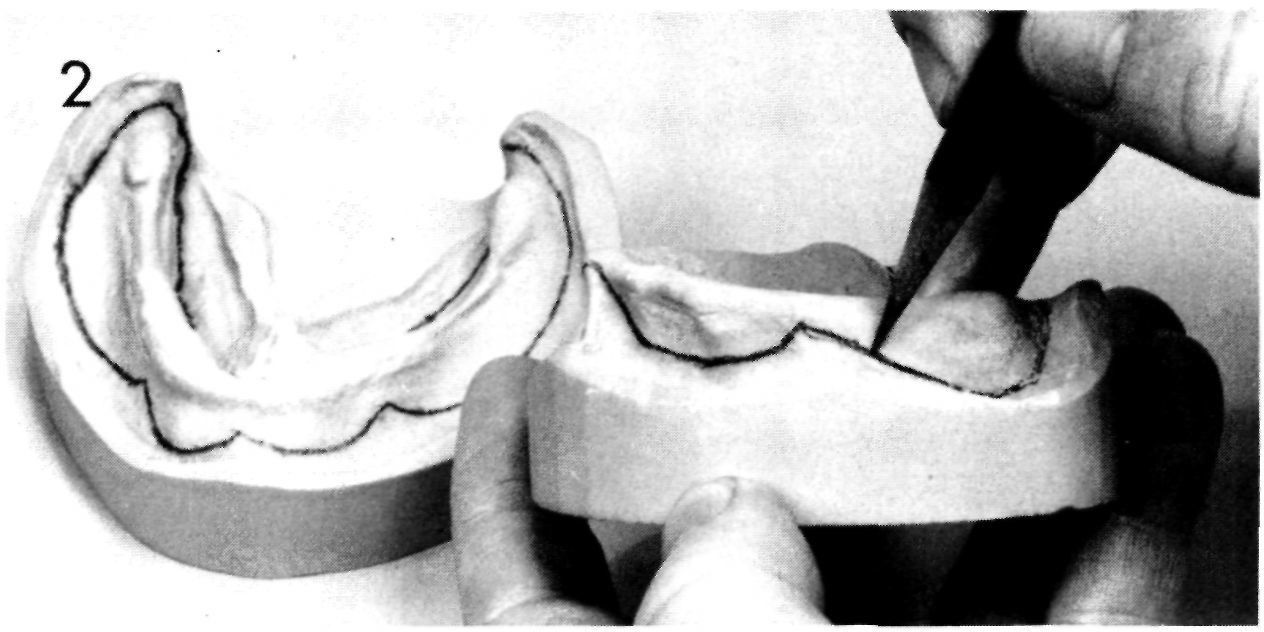
Mandibular cast: A line is drawn from the distal aspect of the retromolar pad to the external oblique ridge at a 45° angle to the crest of the ridge. The line then runs forward along the external oblique ridge to the superior aspect of the mandibular facial frenum. Anterior to the facial frenum the line drops over the canine and incisor region, then rises over the labial frenum. The same outline is drawn on the opposite side of the cast. The lingual portion of the outline follows the depth of the impression but rises over the lingual frenum (see Figure 19). The distolingual aspect of the outline should be carried far enough distally to insure proper coverage and will include coverage of the retromylohyoid depression and the retromolar pad. The accuracy of a completed final impression is determined to a large extent by proper outline form of the custom tray. When in doubt, the tray should be left long so that the dentist may reduce it.
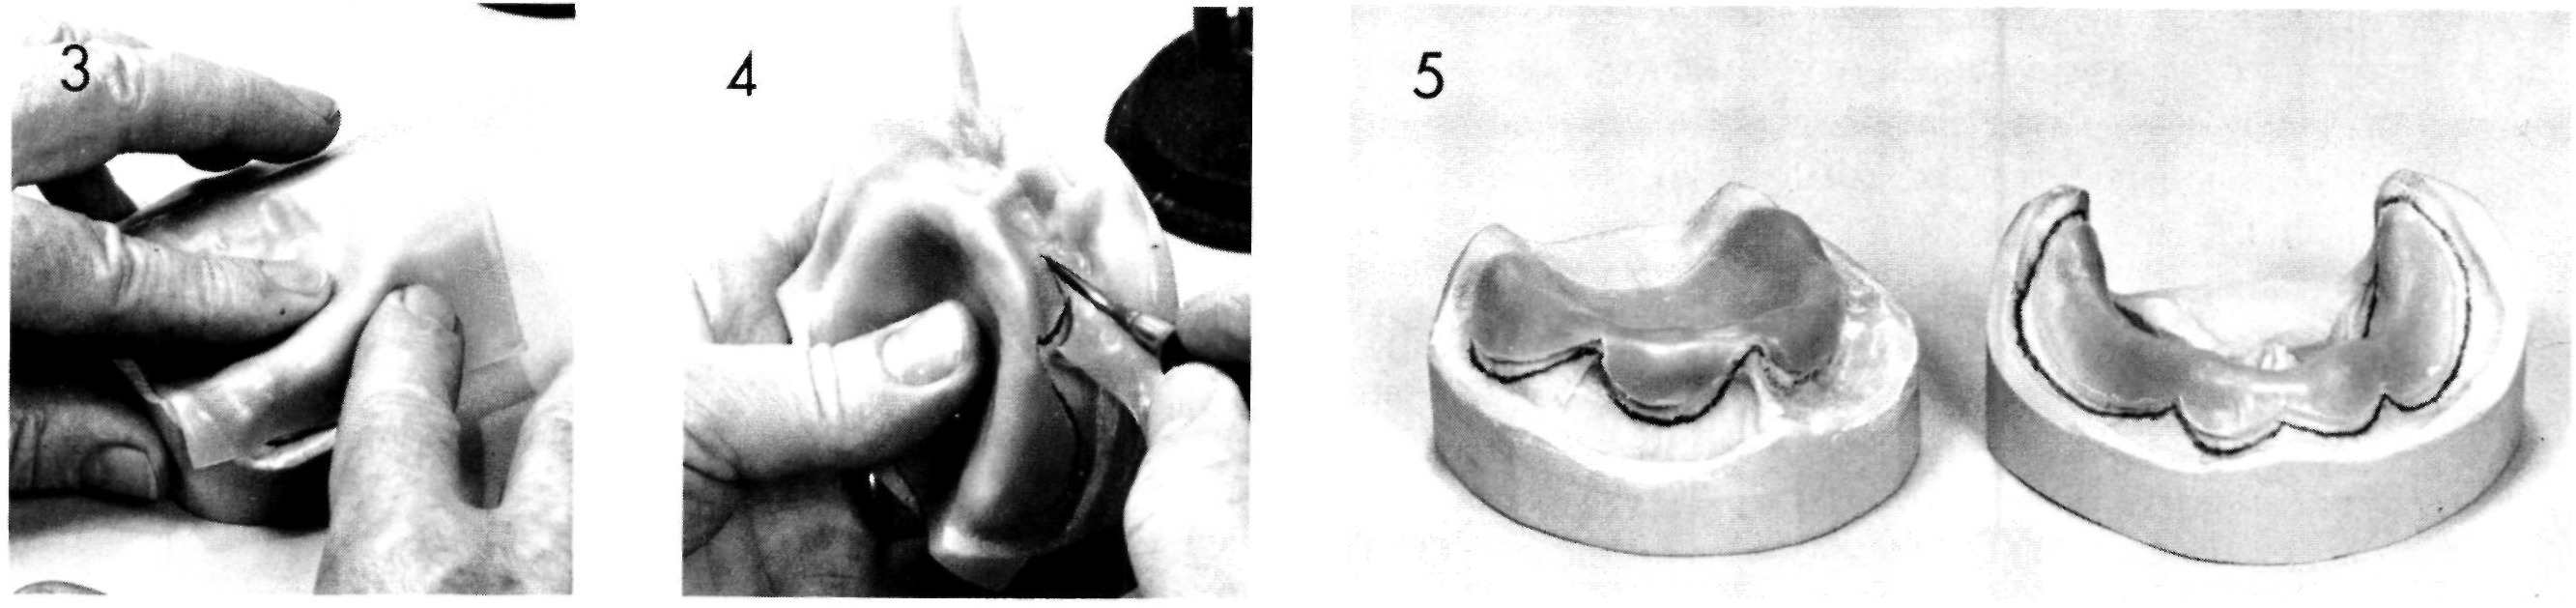
Figures 3 and 4 A layer of baseplate wax is adapted over the cast as per the instructions of the dentist. The spacer shown is adapted just short of the indicated outline by approximately two millimeters. In the event a spacer is not prescribed, this step will be omitted.
Figure 5 The wax spacers are completed.
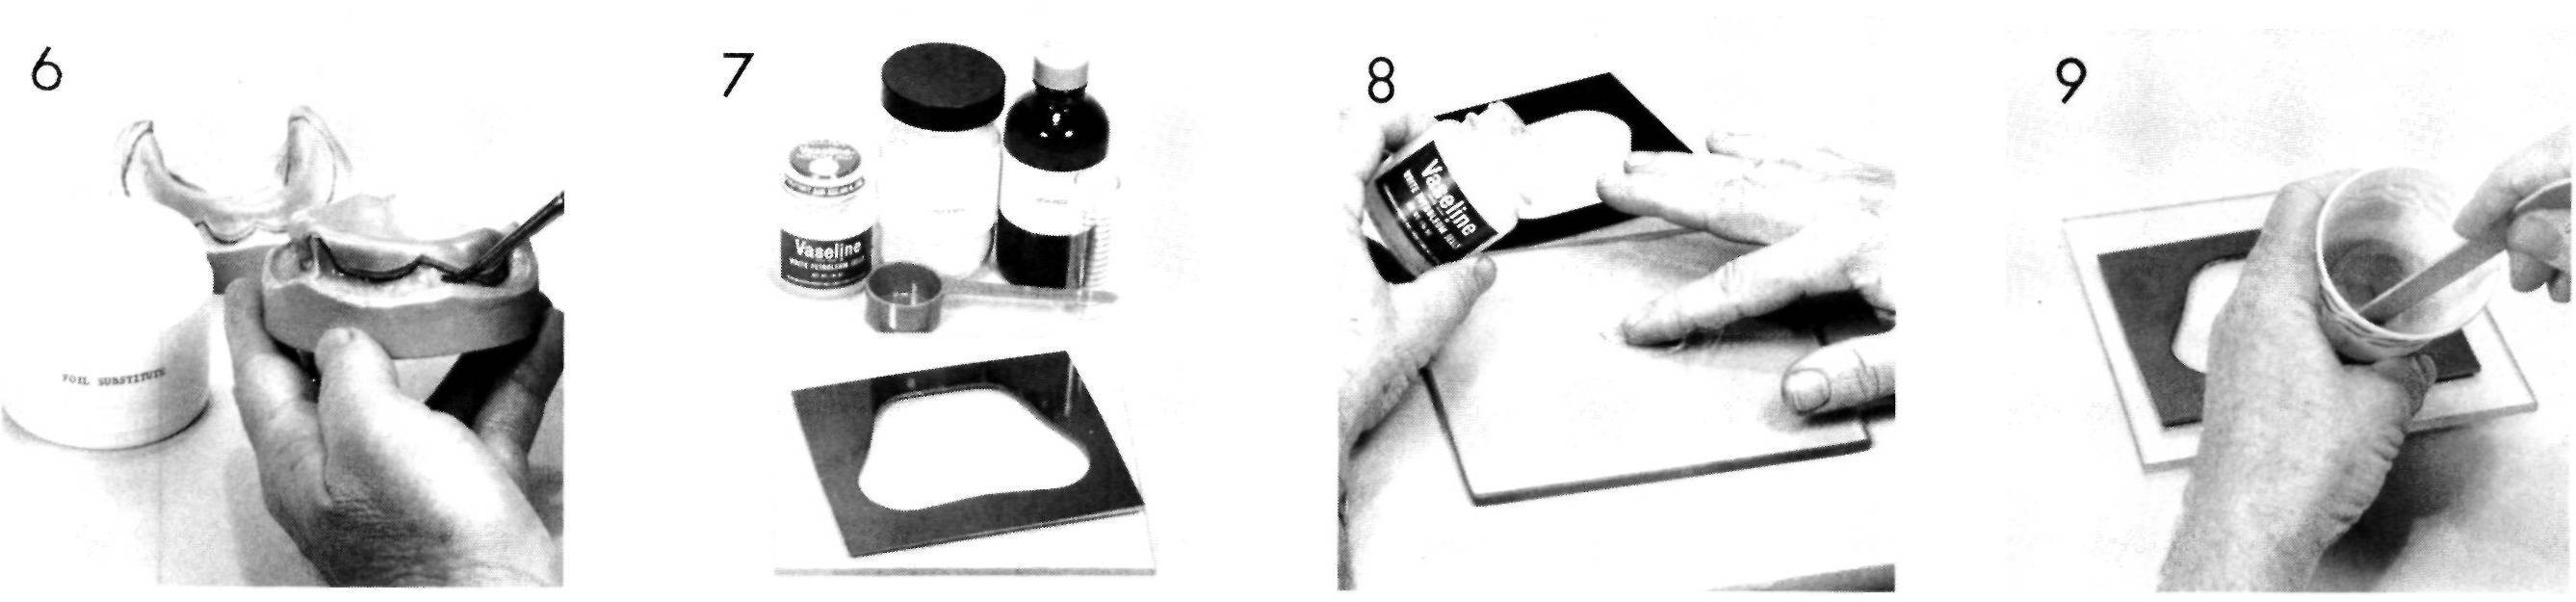
Figure 6 Tinfoil substitute is painted on all exposed portions of the cast. This is necessary to insure separation of the resin tray material from the gypsum cast.
Figure 7 The materials required for construction of a custom tray—powder and liquid components of the tray material, measuring devices, Vaseline, a glass slab and a form for the tray material.
Figure 8 The glass slab is lubricated by applying a moderate coat of Vaseline.
Figure 9 The manufacturer’s instructions for mixing the tray material should be followed. A paper cup and wooden tongue blade are satisfactory for mixing the material and both may be discarded after use.
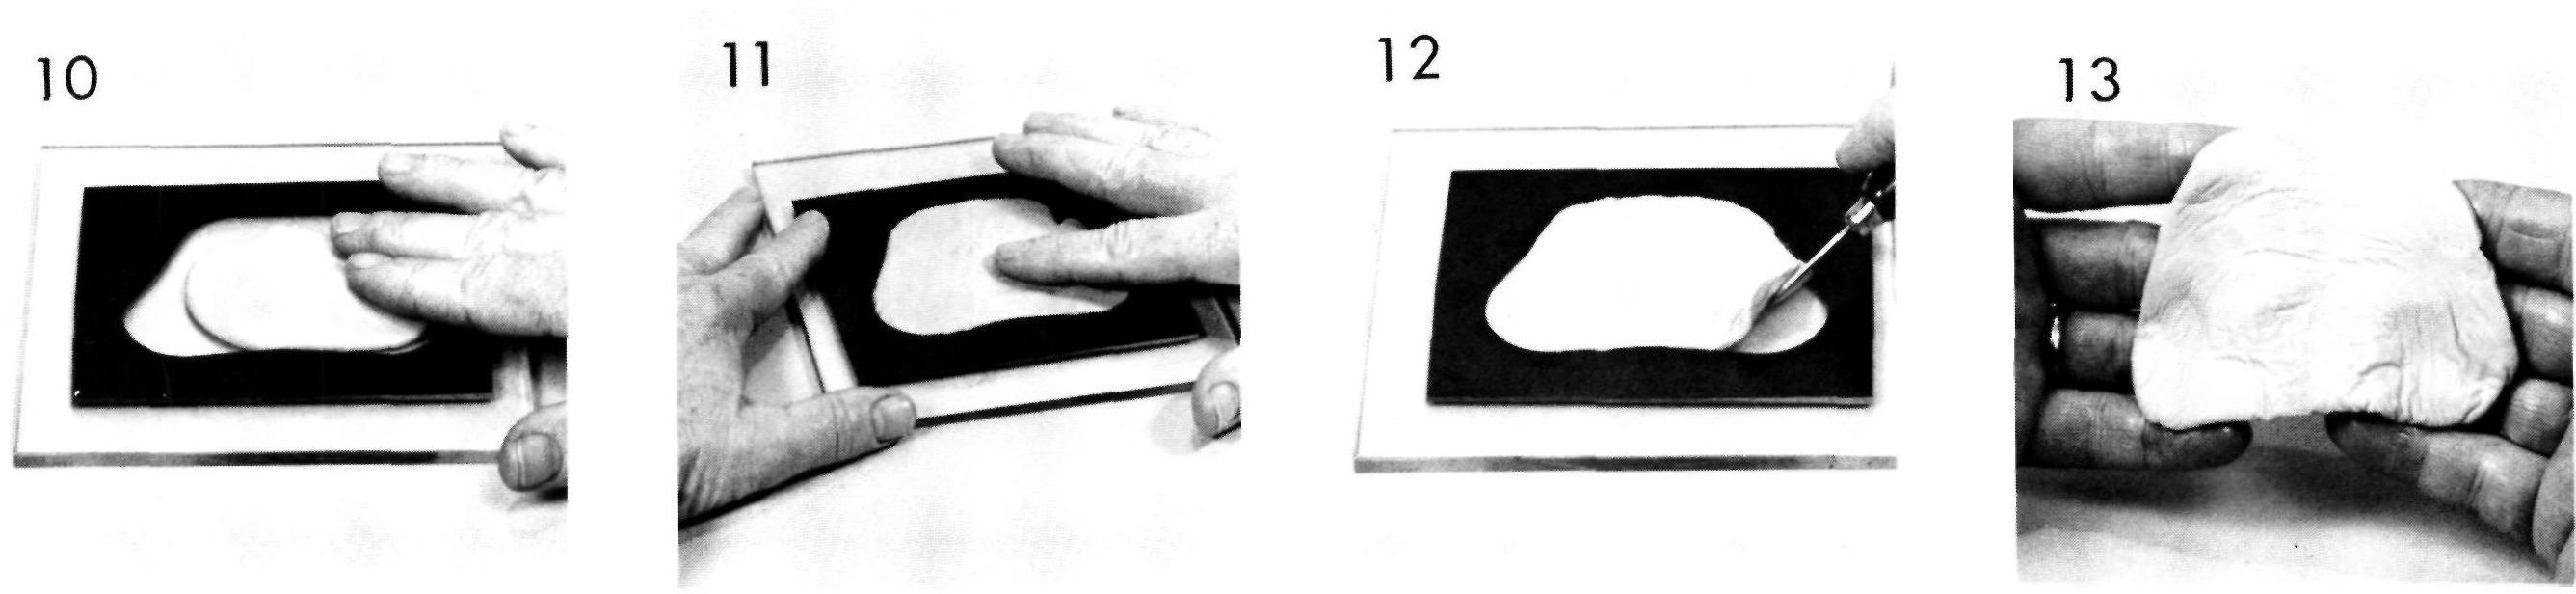
Figures 10 and 11 The mixed tray material is placed within the form on the glass slab. It is patted out to form a wafer of uniform thickness. A little Vaseline on the fingers will prevent the material from sticking to them.
Figures 12 and 13 The wafer of tray material is lifted from the slab. The wafer is handled so that a uniform thickness is maintained.
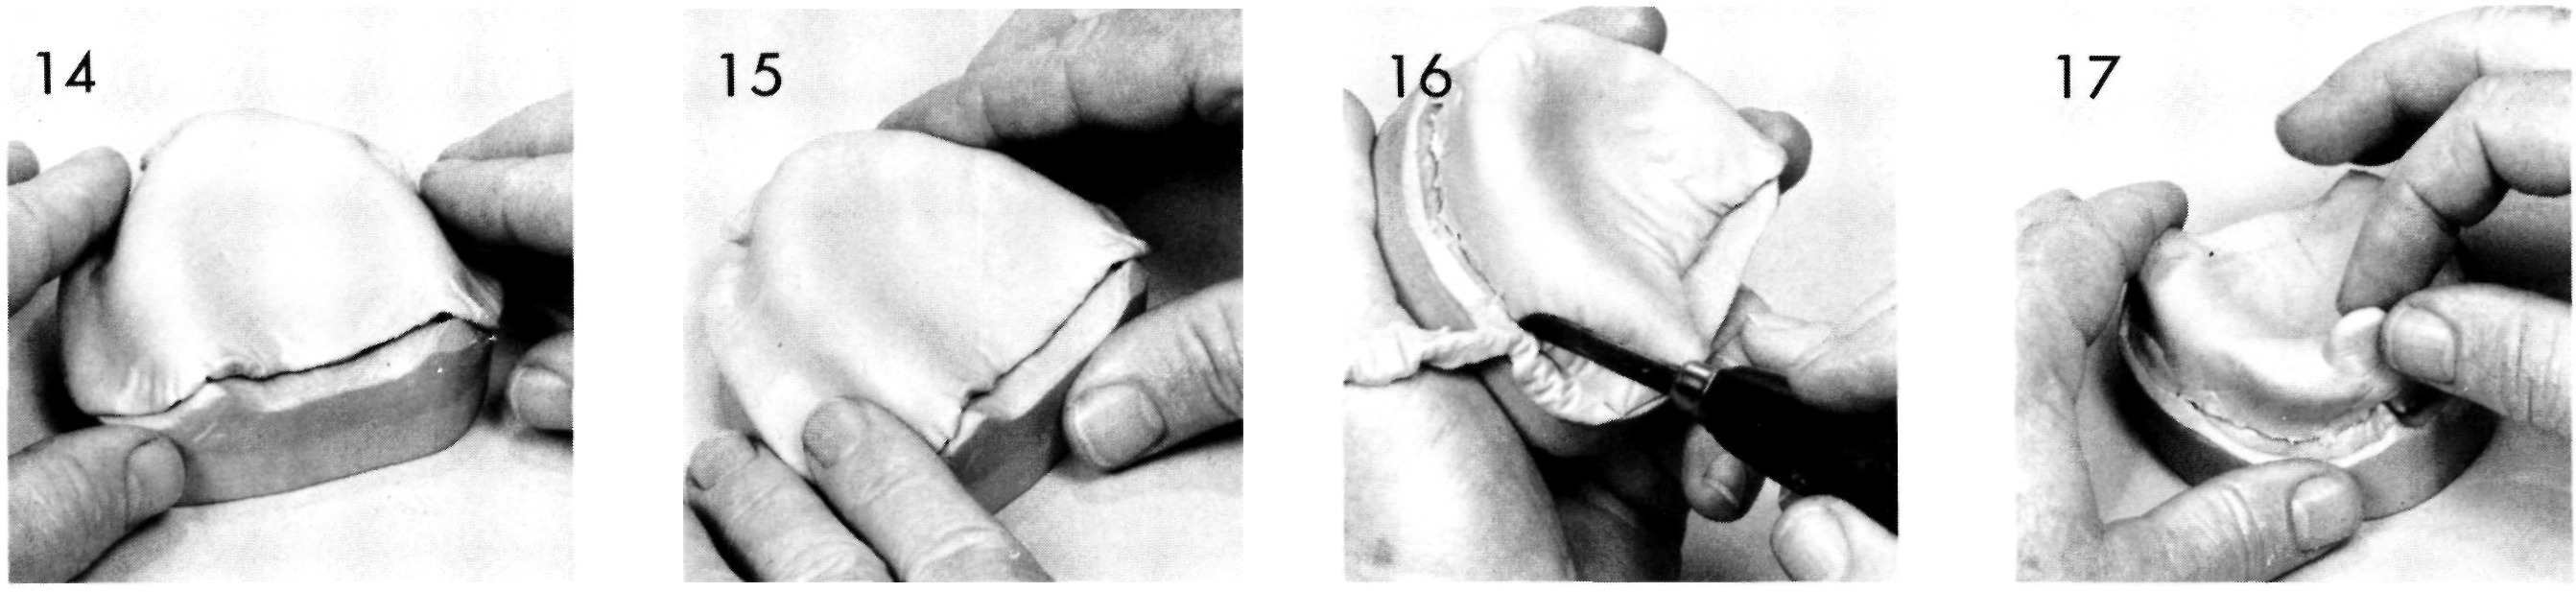
Figures 14 and 15
Stay updated, free dental videos. Join our Telegram channel
VIDEdental - Online dental courses


