CHAPTER 8 Setting up Stage I
Getting Stage I up and running is exactly the same with Plus as with the previously familiar Rx-1 brackets. The subsequent adjustments and checks are the same too.
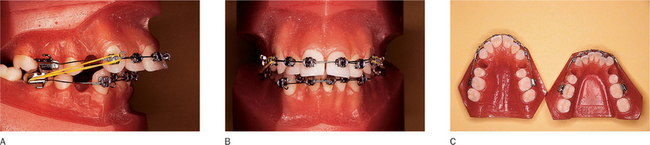
The description that follows shows how to set up a case along the lines illustrated in the previous chapter. The malocclusion features a marked increase in overjet, an increased overbite, plus severe upper and lower anterior crowding. The reader is invited to assume that the typodont does not have a greatly raised maxillary–mandibular planes angle or a severe increase in lower facial height, and is therefore suitable for Class II intermaxillary elastic traction. Four first premolars are extracted (Fig. 8.1).
The base archwire
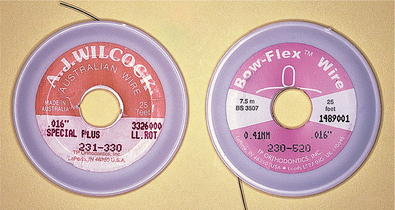
.016 inch round high tensile stainless steel is the ideal archwire for Stage I, in both arches. This has the necessary resilience to withstand forces of occlusion, combined with the flexibility required to align mild tooth-to-tooth irregularities. It is particularly suitable for bite opening, offering a good range of action without excessive forces. The long established Special Plus grade Wilcock Australian wire continues to perform well, as does the more recent Bow-Flex® wire from TP Orthodontics (La Porte, Indiana, USA) (Fig. 8.2).
The ‘horseshoe shaped’ archform, as used in straight-wire techniques, is not appropriate for the early stages of Tip-Edge, since use of an anchorage bend requires a straight posterior leg. Combining a buccal archwire curvature with a vertical anchor bend will cause the wire to ‘wriggle’ and rotate within the buccal tube, which will invite some molar rotation. Even if an initial molar rotation is present, a straight leg is the rule. No toe-in, in any shape or form, should ever be combined with an anchor bend.
If bending an archwire up by hand, begin with the anterior curvature. Each circle should then be formed so that the posterior section loops to the labial of the anterior segment and not vice versa. It should also be noted that the anterior archform curvature extends distal to the circles, across the face of the canines (Fig. 8.3).
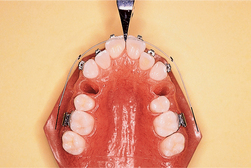
When using Class II elastics and anchor bends, it is good practice to incorporate some overall expansion in the lower arch, as both components exert some elevating effect on the molar tube, which may cause some lingual crown deflection. Five millimetres of expansion each side, measured across the molars, is generally adequate (Fig. 8.4), but this may be increased up to twice this amount in difficult deep bite cases. Even this does not amount to a strong expanding force in so light a wire. Since the upper molars will not be carrying intermaxillary elastics, only a marginal degree of archwire expansion will be required here (Fig. 8.5), simply to counteract the effect of the anchor bend.
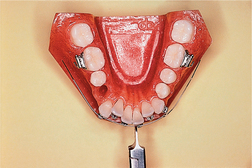
Fig. 8.4 Expansion of the lower archwire is advisable when using Class II elastics and anchor bends.
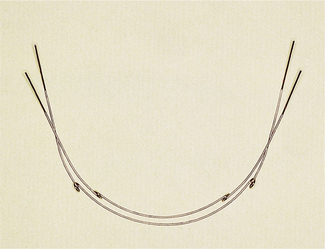
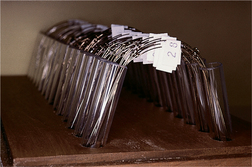
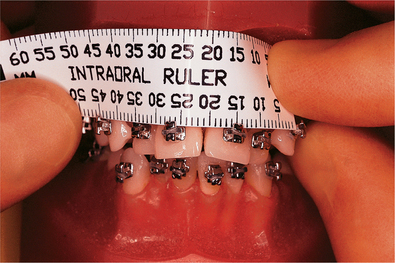
A considerable amount of clinical time can be saved by using preformed archwires, which are fabricated from .016 inch Bow-Flex wire (Fig. 8.6). These are size graded according to the distance in millimetres between the cuspid circles, which can be ascertained in the mouth with a flexible plastic ruler, between the mesial surfaces of both canine brackets (Fig. 8.7). As a check, the circles can be tried across the front of the mouth without inserting the posterior archwire legs, before removing the sticky identification label. Arch length and arch width can then be tailored accordingly.
Stay updated, free dental videos. Join our Telegram channel
VIDEdental - Online dental courses


