Chapter 6
Preformed Crowns Are Easy
Aim
To present the preparation and fitting of preformed crowns using a step-by-step approach to explain the technique.
Outcome
On completion of this chapter the practitioner should feel confident to use preformed crowns – so confident, in fact, as to dare to place them without a full trial fit.
Introduction
Many studies have shown that preformed crowns last significantly longer than other restorative materials used to restore caries in primary molars. However, relatively few are used despite the simplicity of the technique and the speed at which they can be placed. The reason for this under-use must be a perception that the technique is difficult or time-consuming. The crowning of primary molars using preformed crowns (Fig 6-1) is by no means similar to the provision of bespoke crowns for permanent teeth. In fact, some operators use a minimal preparation technique, simple trial fit and a basic kit.
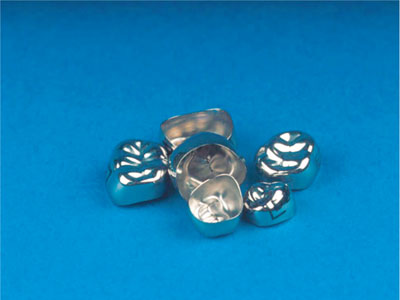
Fig 6-1 Preformed metal crowns for primary molars.
The key to the technique is to avoid cutting a shoulder.
How are Preformed Metal Crowns Retained?
A primary molar tooth has a bulbous crown, much more so than a permanent molar tooth. It is this difference in tooth morphology that provides the retention of the crown as it slides over the bulbosity of the crown, to be held by the cervical constriction. Therefore, the preformed crown technique does not rely on either crown taper or crown height. This is the reason why a preformed crown can be used to restore even a grossly carious primary molar.
-
A shoulder will prevent the crown from seating fully.
-
Contouring the edge of the crown to fit snugly into the cervical constriction, a process known a “crimping”, ensures a tighter fit.
Indications for Preformed Crowns for Primary Molars
-
Large class II cavities.
-
Badly broken down teeth.
-
Following pulpotomy.
-
Hard tissue anomaly (e.g. amelogenesis imperfecta or dentinogenesis imperfecta).
Instruments
-
A fine-tapered diamond fissure bur as pointed as possible so that you can avoid cutting a shoulder (SHOFU PN ISO 0848 013, Fig 6-2) works well.
-
An orthodontic band pusher (Fig 6-3).
-
114 Contouring “crimping” pliers (Fig 6-4).
-
An orthodontic band remover (Fig 6-5).
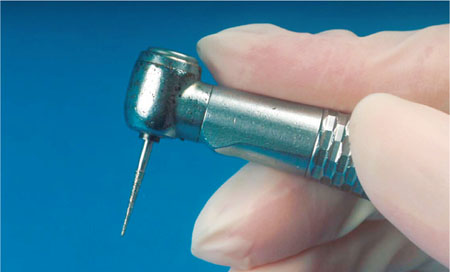
Fig 6-2 A fine-tapered diamond bur.
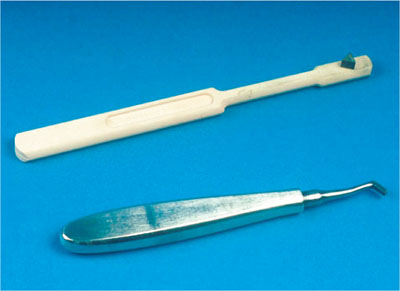
Fig 6-3 Orthodontic band pusher.
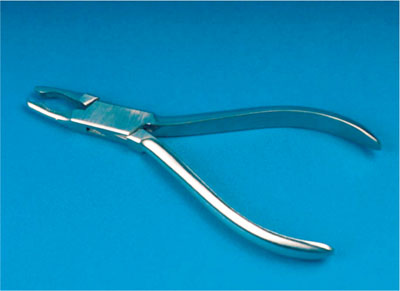
Fig 6-4 114 Contouring (crimping) pliers.
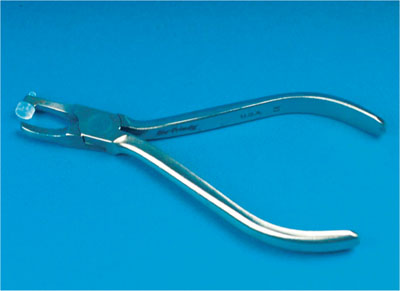
Fig 6-5 Orthodontic band remover.
Selection of the Crown
The crowns are marked with an indication of their size and position (Fig 6-6). There are two methods of choosing the best crown:
-
Measure the mesiodistal width of the crown of the tooth in the mouth, or the available space with a divider, and then select the crown using this measurement.
-
Trial and error (start with a size 4).
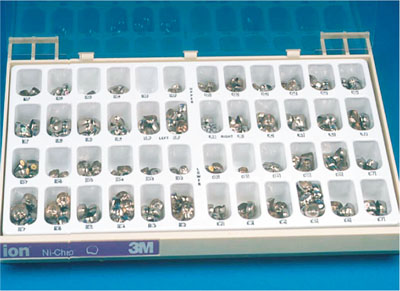
Fig 6-6 Preformed metal crown box.
Step-by-Step Preparation and Fitting
This can be summarised as follows:
-
Remove the caries.
-
Prepare the tooth: “Occlusal: Approximal: Peripheral”.
-
Select the crown:
-
try it in by placing it into the mesial and distal approximal areas
-
don’t seat it fully – just check that it will “squeeze” down over the crown
-
remove it.
-
-
Re-contour the crown margin, if this has been damaged, by using the crimping pliers.
-
Cement the crown.
-
Remove the excess cement.
-
Check the occlusion.
Step One: Occlusal Reduction
-
Reduce the occlusal height by 1.5 to 2mm./>
Stay updated, free dental videos. Join our Telegram channel
VIDEdental - Online dental courses


