CHAPTER 28 LABORATORY PROCEDURES AS THEY PERTAIN TO IMPLANT RECONSTRUCTION
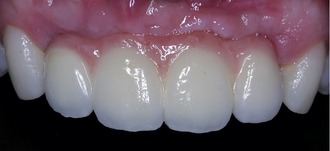
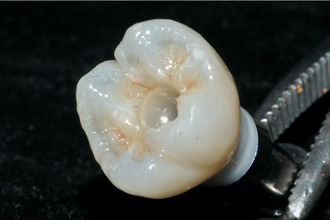
There are many options in restoring a patient’s dentition (Figure 28-1). Some are more difficult than others, but the final results are usually the same. The author has been involved in implant dentistry for the last 16 years. The largest increase in the use of implants has been over the last few years. The author’s dental lab, Jesse & Frichtel (Pittsburgh, PA), is averaging 5000 implants per year. Implant restoration has become the most successful type of restoration for technicians and dentists. The most significant reasons for this success are the very low remake factor and the dramatic cosmetic change. Over time, certain procedures have proven to be the easiest and most predictable in restoring single and multiple unit implants. In this chapter the procedures for a partially edentulous to a fully edentulous restoration are discussed.
 Partially Edentulous Reconstruction
Appointment 1 (Impression)
Option 1: Closed Tray
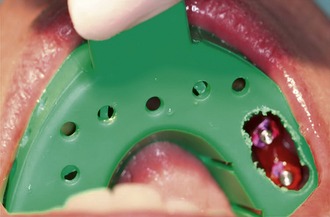
Option 2: Open Tray
Tip: For additional accuracy connect all impression posts with dental floss. Then apply GC pattern resin (GC America Inc., Alsip, IL) or a light-curing composite around the impression posts and floss before taking the impression (Figure 28-4).
At the Laboratory
Option 1: Cement-Retained Restorations
DESIGN 1: STOCK ABUTMENTS
DESIGN 2: CUSTOM ABUTMENTS
Atlantis
With the Atlantis system the models are sent to the Atlantis facility. There, technicians scan the model and design the abutment with the help of computer software. The abutments are made parallel to each other and then tapered in at a 2-degree angle (Figure 28-7). This level of precision is very difficult for a lab technician to achieve. Atlantis offers polished, unpolished, or gold-plated surface options. Atlantis also offers abutments that are compatible with a wide variety of implant manufacturers so it is very likely that they have the implant abutment needed. Each abutment is saved as a computer file and can be duplicated or reordered as necessary.
Nobel Biocare
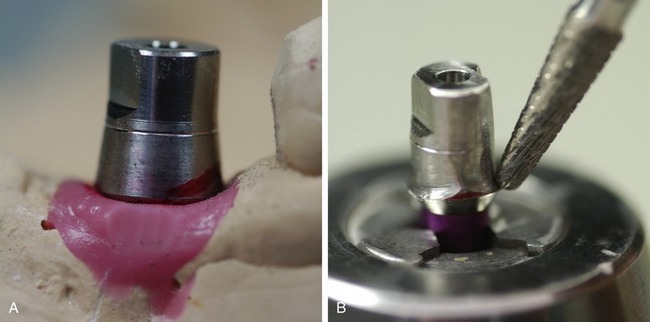
The Nobel Biocare system requires the technician to create a plastic abutment first, view this on the model, and then scan the plastic abutment using a contact scanner (Figure 28-8, A). The computer file is then sent via the Internet to a Nobel Biocare milling facility, where they mill the custom abutment and send it back to the laboratory (Figure 28-8, B and C). Noble Biocare offers implant abutments for companies such as Astra and Strauman in addition to their own platforms.
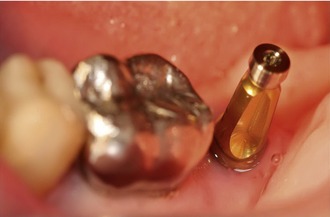
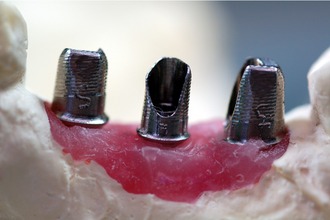
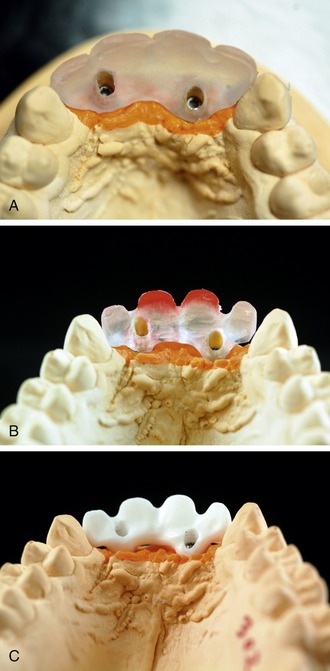
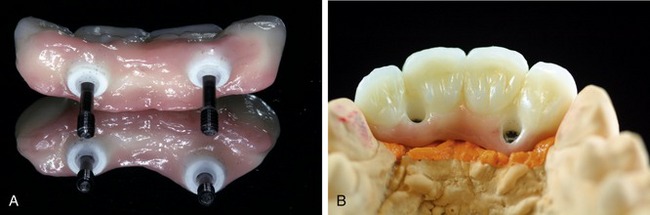
Option 2: Screw-Retained Restorations
If retrievability is the driving force behind the restoration, a screw-retained restoration is a great alternative option, especially with the new substructures scanned and milled out of zirconium. Because there is no longer a metal substructure, these restorations give both a perfect fit and great cosmetics. Before scanning technology was available, the technician had to wax up the design over a UCLA abutment, which was then invested and casted. After the cast was cooled, it was divested, sandblasted, and then seated by hand to the master model. Compared to the zirconium substructures, these metal-based restorations have a much higher margin of error (Figure 28-9).
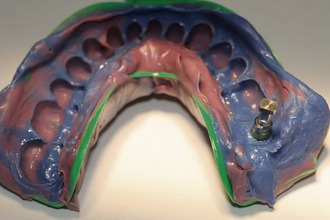
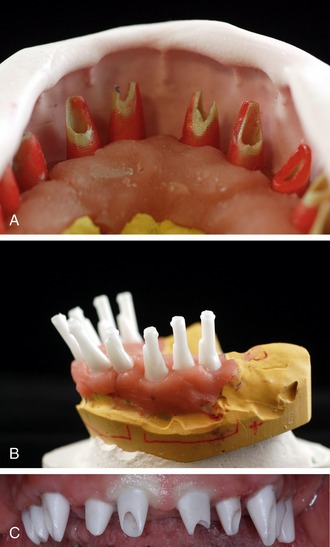
With a zirconium substructure a technician still designs the frame, but instead of casting it the technician scans the framework and an off-site milling machine mills the substructure. This guarantees a very accurate fit to the master model. Because of the precision and consistency of this computer-based system, the author strongly prefers zirconium over metal substructures for these types of restorations (Figure 28-10).
At the Laboratory
After receiving the case, the framework has to be cleaned thoroughly to ensure that there is no biological matter left behind on the frame. These residues could cause failure in the bond between the frame and the porcelain or cause gas bubbles when the porcelain is fired. Porcelain can now be applied to the frame (Figure 28-11).
Appointment 3 (Insert)
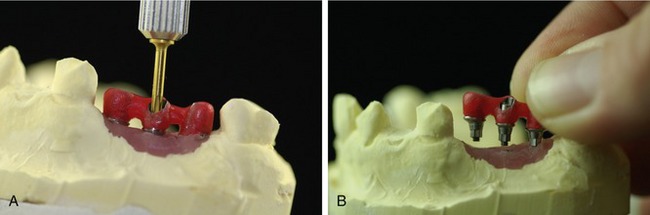
Option 1: Cement-Retained Restorations
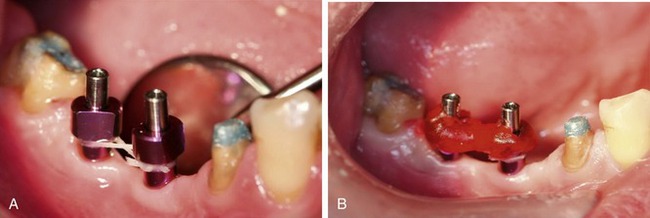
The abutment and the transfer jig come on the model and the crown is packaged separately.
Tip: Before beginning this procedure, unscrew the abutment from the model, leaving the transfer jig on the implant abutment. Place the transfer jig with the abutment(s) into the patient’s mouth. The jig will guide you (Figure 28-12).
Stay updated, free dental videos. Join our Telegram channel
VIDEdental - Online dental courses


