MATERIAL
CAD/CAM Restoration—Digital Impression
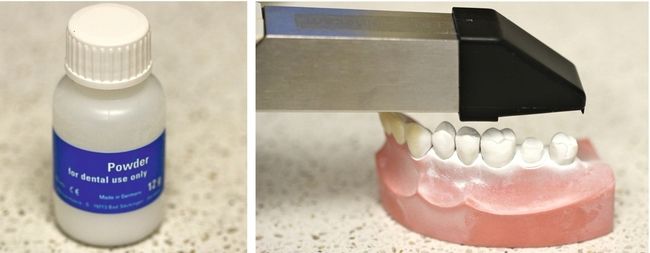
Directions
 Special Notes/Helpful Hints • The CAD/CAM camera that takes the optical impression measures the dimensions of the tooth structure. Applying excessive amounts of powder to the tooth surface can distort the optical impression.
MATERIAL
Topical Fluoride
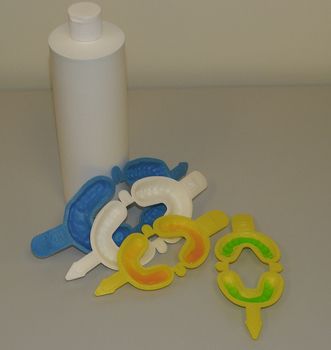
Directions
 Special Notes/Helpful Hints • Different fluoride products can be applied to the tooth surface for 1 to 4 minutes. Research has indicated the 4-minute application is the most effective. • The patient should be given instructions not to close around the saliva ejector while the fluoride trays are in place because this can cause negative pressure and suck back in the vacuum line, and bacteria in the vacuum line can come back into the patient’s mouth causing cross-contamination. Some vacuum lines have a system that prevents negative pressure. • Acidulated phosphate fluorides can etch ceramic and composite, and this type of fluoride is not recommended for patients with such restorations.
MATERIAL
Fluoride Varnish
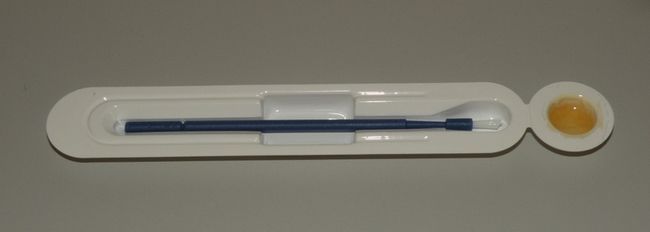
Directions
 Special Notes/Helpful Hints • Some fluoride varnishes require application to both the facial and the lingual surfaces, whereas others require application to only one side of the tooth surface. Read manufacturer’s instructions before use. • Fluoride varnishes creep into the interproximal surfaces of the teeth and remain on the tooth surface for 4 to 6 hours after placement. • Post-treatment instructions should be given to a patient after a fluoride varnish treatment. Most manufacturers supply post-treatment patient care instructions, which can be sent home with the patient at the conclusion of the treatment. • Do not suction fluoride varnish out of a patient’s mouth with the saliva ejector because the material can accumulate on the sides of the suction hose and cause the hose to become blocked. Instead, a disposable cup should be used during the application process.
Stay updated, free dental videos. Join our Telegram channel
VIDEdental - Online dental courses


