Pre-endodontic management
The clinical area
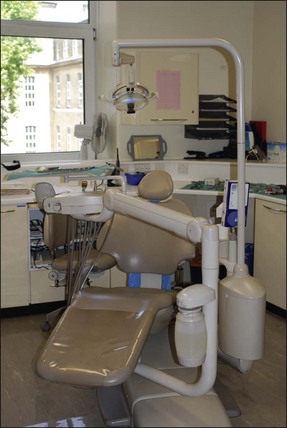
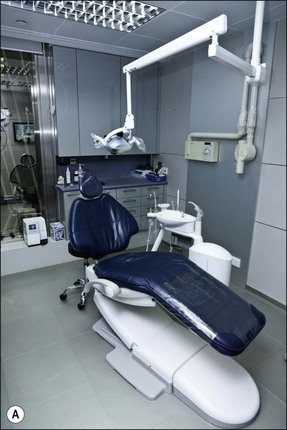
The clinical area, office or “operatory”, benefits from having a fresh, bright, warm and welcoming atmosphere. The design, layout and décor help contribute a great deal to enhance its image and comfort for the patient. An environment designed and constructed to allow staff to work efficiently, with comfort and ease, will decrease stress, encourage smooth, relaxed working days, and increase job satisfaction. The operatory should be designed in an uncluttered fashion to facilitate unhindered movement to and from the working area. The image (Fig. 6.1) shows a sub-optimally designed operatory with poor space and access.
Equipment location, storage and delivery
In traditional surgeries, cabinetry and cupboards in an L- or U-shaped configuration should be placed within the working area of both operator and assistant. Work can often be simplified by considering the most useful positions to place the more commonly used instruments. The key element here is the basic space within which this is fitted. Figure 6.1 shows an operatory that could potentially be effective but is severely compromised by lack of sufficient space.
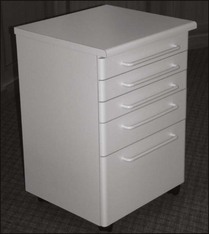
The distance traversed by hand instruments during operative procedures should be minimized; the use of a mobile cabinet or cervical tray (Fig. 6.2) may help achieve this. A mobile cabinet provides flexibility with a worktop area and drawers, which may be sited close to the patient. Simple cervical trays without hand-piece and 3-in-1 cord fittings will also allow instruments to be approximated to the tooth being treated.
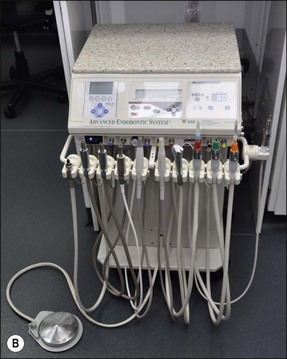
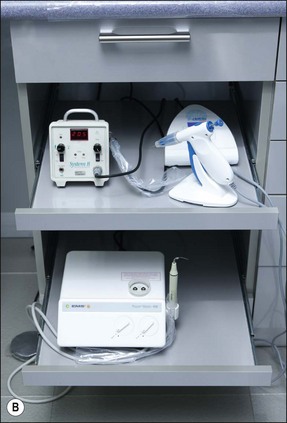
Customized carts have been favoured among endodontists since they provide easy and ergonomic access to a range of hand-pieces, including air-rotors, slow speed motors, reducing speed/controlled torque handpieces, ultrasonic or sonic instruments, irrigation devices and obturation devices (Fig. 6.3). Some believe that the development of cordless devices may obviate the need for cart or mobile systems. However, given the pace of change in equipment and material available demands flexibility and it seems the best way to achieve this is not to have fixed worktops but mobile, multilayered systems providing an increased area within easy reach (Fig. 6.4). The mobile systems may be stored away in a separate area where they can be replenished and be ready for use in any surgery. The trend may be toward having separate mobile units for different speciality or procedure work. Such a system should also be complemented by an effective restocking system that prioritizes the most frequently used items. Finally, the system should be adaptable enough to allow immediate and easy integration of new equipment and materials, which appear on the market annually, without disrupting the previous system.
Work surface organization
Contamination zones
Work surfaces should be defined as zones of high or low contamination.
Surfaces liable to become contaminated with body fluids or infected matter should be identified and designated high contamination zones. These areas benefit from impervious disposable coverings that can be changed and the surface beneath cleaned between patients. All disposable and sterilizable instruments and trays fall within this area (Fig. 6.5).
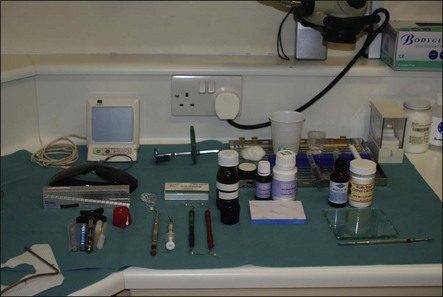
Fig. 6.5 Work surface in high contamination zone covered with sterilized impervious disposable coverings (green)
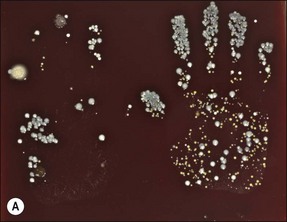
Low contamination zones include all other areas that, during normal clinical procedures, are not expected to become coated with infected material. In these areas, procedures should be adopted to limit the number of surfaces touched each time a patient is treated. The operator should be aware that their hands are generally contaminated and hand-washing techniques have gained a high priority in helping to eliminate serious infection spread in hospitals. Figure 6.6 shows bacterial growth on agar plates from hand prints before and after hand washing using Hibiscrub hand cleanser.
Water supplies
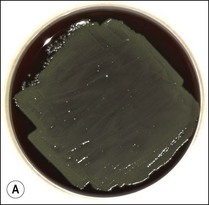
All waterlines and airlines should be fitted with antiretraction valves to help prevent contamination of the lines. Water retraction valves may aspirate infected material back into the tubing. Hand-pieces with water sprays should be allowed to discharge water into the sink for 20–30 seconds after each patient. Overnight microbial accumulation can be reduced if the hand-piece is run for two minutes at the beginning of each day. Many units now have a bottled water system, disinfectants advised by the manufacturer may be run through the system at the end of each day to reduce the microbial load and prevent the build-up of biofilm. Specific agents, such as Alpron (Fig. 6.7) are now available to eradicate biofilms in dental unit water lines (Fig. 6.8).
Instrumentation and storage
Generally used instruments and materials include:
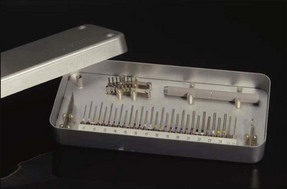
 rotary instruments, friction grip burs, conventional burs, safe-ended burs, Gates–Glidden burs
 hand instruments, barbed broaches, files, other root-canal instruments
 power-assisted instruments, nickel–titanium rotaries, ultrasonic
 measuring devices, electronic, rulers, gauges, stops
 instrument and post-retrieval kits
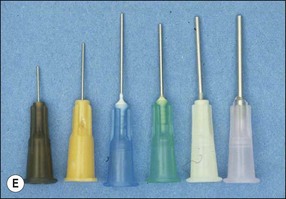
 irrigating syringes and needles
 gutta-percha points both ISO and larger non-ISO tapers
 instruments for lateral and vertical compaction of gutta-percha
 instruments for thermomechanical compaction of gutta-percha
Consideration must be given to storing, cleaning and sterilizing all these items.
The basic instrument pack
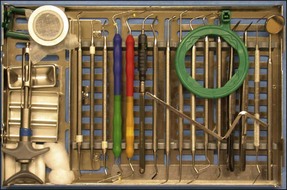
A presterilized basic pack (Fig. 6.9) is required for all routine root canal procedures. The pack contains:
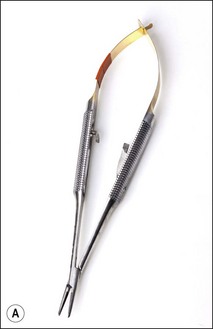
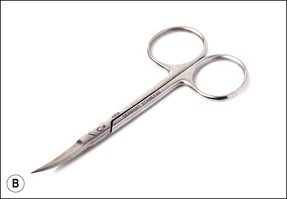
Use of the front surface mirror overcomes the problems associated with double images, which are produced when the reflecting surface is beneath a layer of glass. The endodontic locking tweezers allow small items to be gripped safely and transferred between assistant and operator (Fig. 6.10). They are particularly useful when handling gutta-percha points, paper points and cotton-wool pledgets. The tips of the beaks should be blunt and grooved. A Mitchell’s trimmer may be used to remove cement and either temporary or permanent crowns. The canal probe or DG 16 should be long, fine, sharp and strong. It is used to feel the floor of the pulp chamber when locating canal orifices. A Briault probe is used to feel for overhangs when removing the roof of the pulp chamber and to check the internal margins of any restorations. Two other probes, although not included in the basic kit, are useful in periodontal assessment: the explorer EXD3CH (Fig. 6.11) (used to examine restorations, such as bridges), furcation probe with markings (for measuring the extent of periodontal furcation involvement in posterior teeth); and a pocket measuring probe with a fine shank, blunt end, and millimetre markings (as illustrated in Chapter 11). Long-shanked excavators (Fig. 6.12) come in a range of designs to allow access to the pulp chamber. These are used for scooping out the remains of the pulp and excess gutta-percha; also for flicking away pulp stones. The flat plastic assists in placement of inter-appointment provisional restorations. The ruler is used to measure and set instrument lengths. The nurse can provide initial measurement but the operator may wish to use a finger-ring held ruler for checking or fine adjustments.
Operation microscope
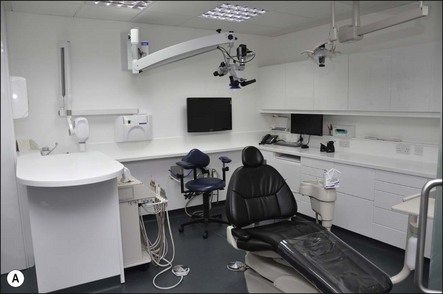
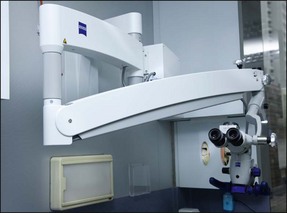
There are many brands of Dental Operating Microscopes available on the market. They vary by the optical system; a continuous zoom versus series of steps of magnification (3.4×, 5.1×, 8.5×, 13.6×, 21.3×); fixed versus inclinable binoculars; halogen, Xenon or LED illumination; and manual versus foot pedal for hands-free operation. Installation of video camera and monitor or assistant scope could facilitate four-handed endodontic practice. The former set-up would allow the dental assistant to carry out other tasks and for documentation purposes. The type of microscope and installation (ceiling mounts, wall mounts, floor-stands, custom-mounts) may be limited by the size of the dental surgery and the quality of the ceiling and walls. An optimal mounting arrangement would facilitate easy access and positioning, as well as make best use of the available surgery space (Fig. 6.13).
X-ray machine
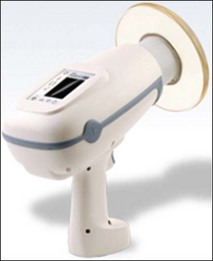
Dental X-ray machines come in a variety of configurations including mobile units or wall, floor column or dental unit mounted machines. Recently, a number of cordless hand-held dental X-ray machines with high-frequency, 60 kV DC X-ray generator have become available (Fig. 6.14). The advantages of these hand-held units include flexibility in positioning, spacing saving and economy as a single device can serve multiple surgeries. However, the X-ray tube, X-ray control circuitry, and high voltage generator (transformer) contained in a single, lead shielded housing may increase the risk of operator exposure to radiation as a result of tube leakage and radiation back scatter. The back scatter can be reduced by a properly deployed lead acrylic disc surrounding the exposure aperture cylinder to absorb and limit this unnecessary dose. A theoretical increase in patient dose from these units could result from repeated exposure required due to operator/patient movement.
Operation of the dental X-ray machine should comply with current legislations governed by:
 The Ionising Radiations Regulations 1999 (IRR99), which aims to keep occupational exposure to dentist, dental nurses and others from ionizing radiations as low as reasonably practicable (ALARP) and
 The Ionising Radiations (Medical Exposures) Regulations 2000 (IR(ME)R) which aims to minimize patient exposure during medical procedures.
A dental practice must draft Written Procedures for the use of dental X-ray equipment including:
 Identifying patients – to link each patient with their medical history, test results and any treatment specified by the practitioner
 Identifying those authorized to use dental X-ray equipment as Practitioner, Referrer or Operator
 A procedure to enquire about a female patient’s pregnancy status
 Procedures for documenting the evaluation of each radiograph along with all pertinent details
Non-surgical retreatment devices
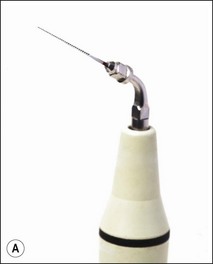
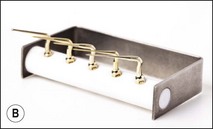
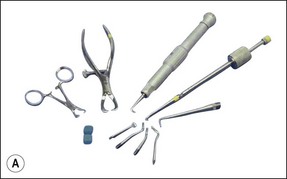
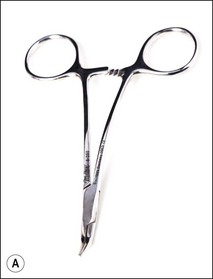
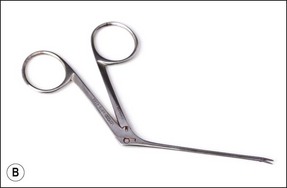
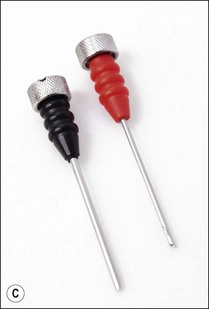
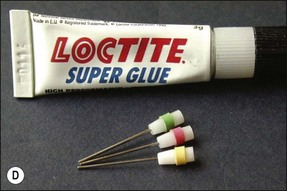
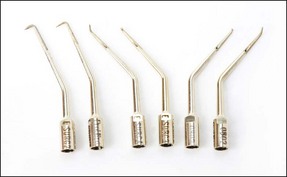
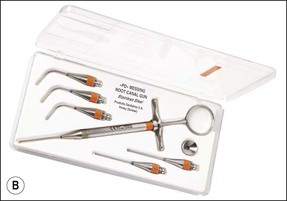
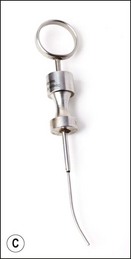
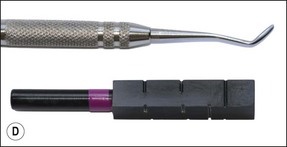
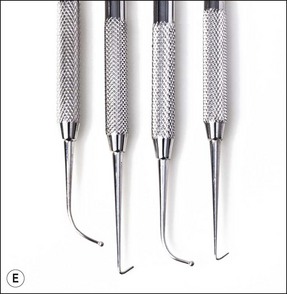
It is important to use some form of magnification during non-surgical retreatment – if you can see it, you can probably do it, for example removing a trough of dentine around a post or fractured instrument requires good magnification, good lighting, and a steady hand. Longer appointments are required for retreatment cases, in particular for removal of foreign material from root canals. Ultrasonic units and tips (Fig. 6.16) are very useful equipment for cutting a trough around embedded metallic material. There is equipment specifically designed for removal of coronal cast restorations (Fig. 6.17), posts (Fig. 6.18), fractured instruments (Figs 6.19, 6.20) and for repair of strip perforation.
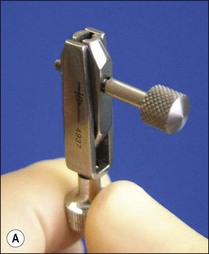
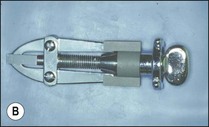
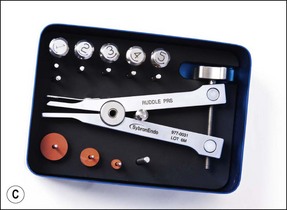
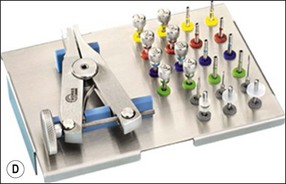
Fig. 6.18 (a) Ivory miniature post puller; (b) Eggler post puller; (c) Ruddle post-removal system; (d) Gonon post-removal system
Surgical armamentarium
 irrigating syringe or irrigation tubing
 rear-venting surgical hand-piece (Fig. 6.21a)
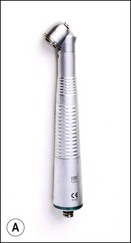
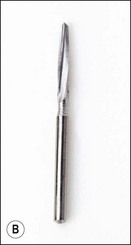
Fig. 6.21 (a) A high-speed surgical hand-piece with rear-venting exhaust in order to avoid development of surgical emphysema; (b) a Lindeman bone-cutting bur
 Lindeman bone-cutting (Fig. 6.21b) and tapered diamond burs
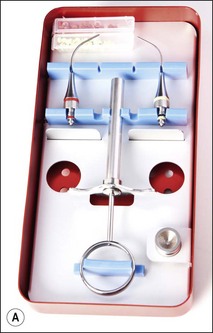
 ultrasonic unit and root-end preparation tips (Fig. 6.22)
 needles and suitable suture material
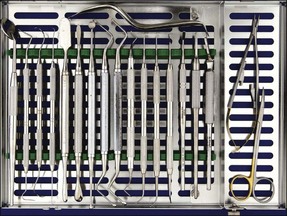
 an endodontic surgical tray (Fig. 6.23), which should include:
4. front-surface mirror and small microsurgical mirrors
4. hooked, curved and angled probes
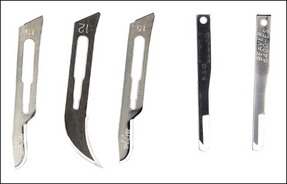
4. a range of surgical scalpels (Fig. 6.24)
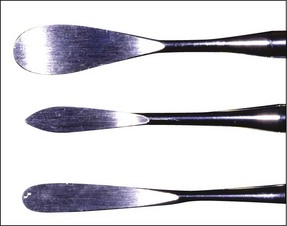
4. periosteal elevators (Fig. 6.25)
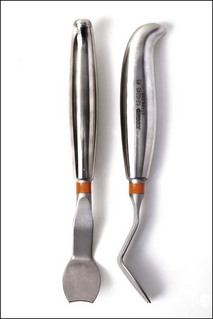
4. periosteal retractors (Fig. 6.26)
 endodontic instruments for canal preparation and obturation may also be required.
Cleaning and sterilization
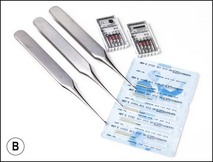
All instruments contaminated with oral and other body fluids should be cleaned and sterilized after use. There are three stages to the sterilization process: presterilization cleaning; sterilization; and storage. The surgery should be designed to facilitate a dirty-to-clean workflow to prevent recontamination of decontaminated instruments. An example layout (Fig. 6.29) for essential quality requirements for setting up a decontamination area is given by the Health Technical Memorandum 01-05: Decontamination in primary care dental practices. Dentists should note the manufacturers’ instructions and ensure these are followed. There is a progressive move towards using instruments once only. Many nickel–titanium rotary instruments have a sign on the packet showing a number 2 with a diagonal line running through it, which means for one use only (Fig. 6.30). It should be noted that />
Stay updated, free dental videos. Join our Telegram channel

VIDEdental - Online dental courses


