Chapter 10
Airway management and ventilation
INTRODUCTION
Failure of the circulation for 3–4 minutes (less if the patient is initially hypoxaemic) can lead to irreversible cerebral damage. Restarting the heart following a cardiac arrest may not be possible without adequate reoxygenation (Resuscitation Council (UK), 2011).
Patients who require resuscitation often have airway obstruction, usually secondary to loss of consciousness, but sometimes airway obstruction may be the primary cause of cardiorespiratory arrest (Deakin et al., 2010). Airway obstruction can be subtle and is often undetected by healthcare professionals (Deakin et al., 2010).
Dental practitioners must be competent at basic airway management and ventilation. Whatever the cause, prompt recognition and effective treatment of airway obstruction is essential, particularly during resuscitation as an open and clear airway is essential to help ensure adequate ventilation.
The aim of this chapter is to understand the principles of airway management and ventilation.
CAUSES OF AIRWAY OBSTRUCTION
Causes of airway obstruction include:
- Displaced tongue – causes include unconsciousness, sedation, cardiac arrest and trauma;
- Fluid – e.g. vomit, secretions and blood;
- Foreign body – e.g. dentures;
- Laryngeal oedema – causes include anaphylaxis and infection;
- Bronchospasm – causes include asthma, foreign body and anaphylaxis;
- Pulmonary oedema – causes include cardiac failure, anaphylaxis and near drowning (Jevon, 2006a).
RECOGNITION OF AIRWAY OBSTRUCTION
Whatever the cause of airway obstruction, prompt recognition and effective management are essential. Recognition is best achieved by following the familiar ‘look, listen and feel’ approach (Resuscitation Council (UK), 2011).
- Look for movements of the chest and abdomen;
- Listen at the mouth and nose for airflow;
- Feel at the mouth and nose for airflow.
Airway obstruction can be partial or complete, and can occur at any level from the nose and mouth down to the trachea (Jevon, 2006a).
Partial airway obstruction
Partial airway obstruction is usually characterised by noisy breathing.
- Gurgling – presence of fluid, e.g. secretions in the main airways;
- Snoring – partial occlusion of the pharynx by the tongue;
- Inspiratory stridor – upper airway obstruction (at or above the level of the larynx), e.g. foreign body, laryngeal oedema;
- Expiratory wheeze – lower airway obstruction, e.g. asthma.
Complete airway obstruction
Complete airway obstruction in a patient who is making respiratory efforts is characterised by paradoxical chest and abdominal movements (‘see-saw’ breathing) – on trying to breathe in, the chest is drawn inwards and the abdomen expands, the opposite happening when trying to breathe out (Resuscitation Council (UK), 2011). Use of accessory muscles, e.g. neck and shoulder muscles, may also be evident.
SIMPLE TECHNIQUES TO OPEN AND CLEAR THE AIRWAY
Head tilt, chin lift and jaw thrust are three manoeuvres that can improve the patency of the airway, which has been obstructed by the tongue or other upper airway structures, e.g. soft palate and epiglottis (Deakin et al., 2010). As regurgitation of gastric contents and vomiting commonly occurs during resuscitation, suction is regularly required and proficiency in applying it is essential (Jevon, 2006a).
Head tilt, chin lift
The head tilt, chin lift manoeuvre (Figure 10.1) is considered, the most effective method of opening the airway of an unconscious patient (Jevon, 2009). In basic life support it can achieve airway patency in 91% of cases (Guildner et al., 1976). By stretching the anterior tissues of the neck, it displaces the tongue forwards away from the posterior pharyngeal wall and lifts the epiglottis from the laryngeal opening (Jevon, 2009). A cushion under the head and shoulders can help to maintain this position.
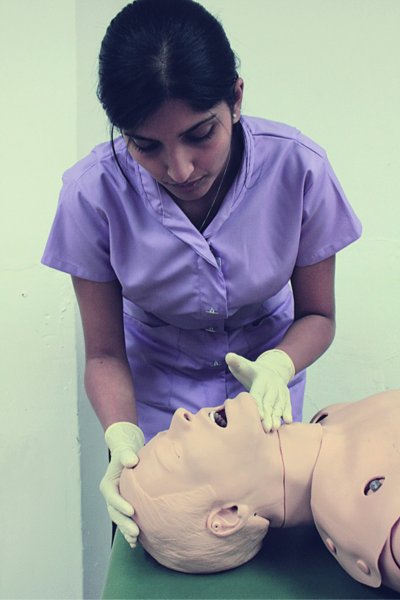
Figure 10.1 Head tilt, chin lift manoeuvre.
To perform head tilt and chin lift:
- Place one hand on the patient’s forehead and gently tilt the head back;
- Place the fingertips of the other hand under the point of the patient’s chin and lift the chin upwards.
Source: Jevon (2006a)
Jaw thrust
The jaw thrust manoeuvre (Figure 10.2) is an alternative method to open the airway. It is recommended in patients with a suspected cervical spine injury (Jevon, 2009), as head tilt may aggravate the injury and damage the spinal cord (Donaldson et al., 1997). When used in these patients, it should be accompanied by manual in-line immobilisation of the head and neck by an assistant (Lennarson et al., 2001). However, if life-threatening airway obstruction persists, despite the application of effective jaw thrust or chin lift, head tilt should be performed gradually more and more until airway patency is achieved. The establishment of a clear airway takes priority over concerns about potential injury to the cervical spine (Deakin et al., 2010).
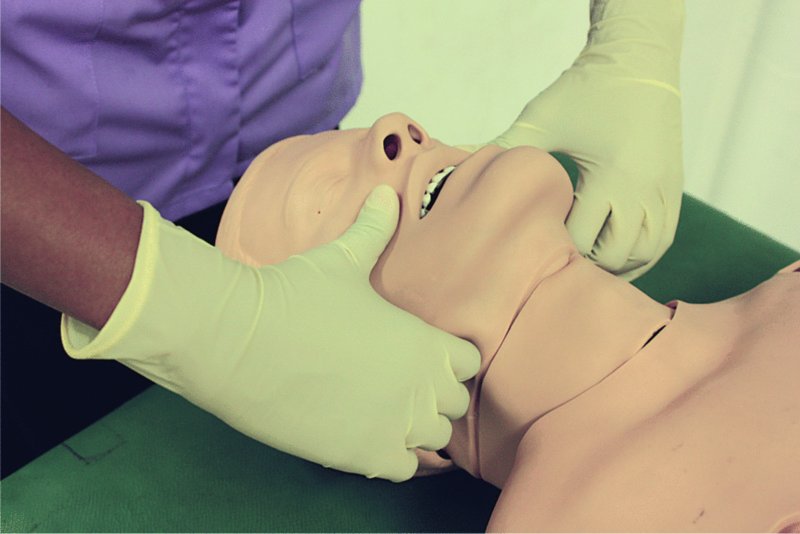
Figure 10.2 Jaw thrust manoeuvre.
To perform a jaw thrust:
- Using the index fingers, positioned just proximal to the angles of the jaw, displace the mandible anteriorly (together with the tongue);
- Using the thumbs, apply pressure on the chin to help open the mouth.
Source: Jevon (2006a)
Suction
When obstruction is caused by vomit, secretions, etc., simple basic life support manoeuvres such as placing the patient in the lateral position and finger sweeps may help to clear the airway. The suction apparatus by the dental chair (Figure 10.3) can provide rapid suction of large volumes of fluid from the mouth and pharynx. A hand-held portable suction device (see Chapter 1) is useful for some situations, e.g. if the patient has collapsed in the waiting room.
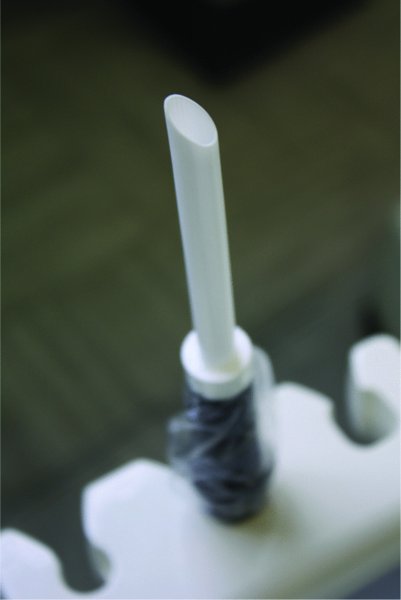
Figure 10.3 Suction apparatus.
Dentures
Well-fitting dentures should be left in place because they will help to maintain the normal shape of the face, facilitating an adequate seal when ventilating using a bag, valve or mask device. However, displaced or broken dentures should be removed (Jevon, 2006a).
USE OF OROPHARYNGEAL AIRWAY
The oropharyngeal airway is a useful adjunct because it can provide an artificial passage to airflow by separating the posterior pharyngeal wall from the tongue.
Oropharyngeal airway
The oropharyngeal airway (Figure 10.4) can be used when there is obstruction of the upper airway due to the displacement of the tongue backwards and when glossopharyngeal and laryngeal reflexes are absent, e.g. during cardiopulmonary resuscitation.
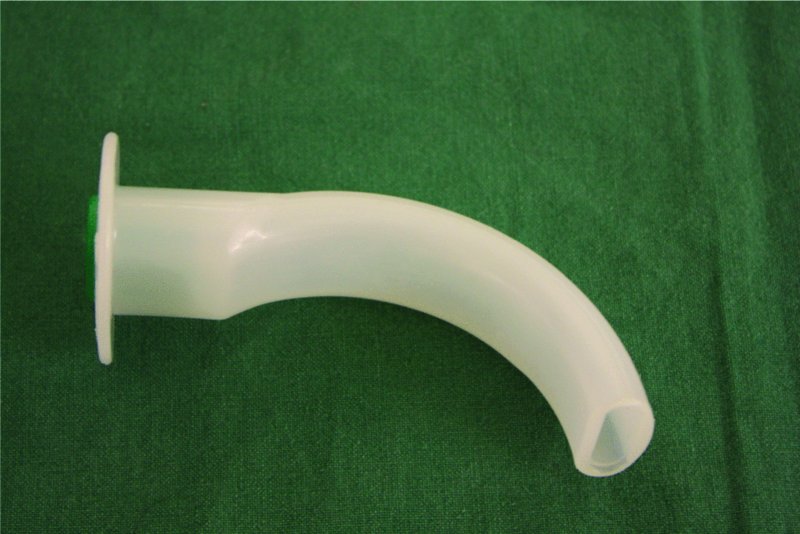
Figure 10.4 Oropharyngeal airway.
Cautions
- An oropharyngeal airway should not be used in a patient who is not unconscious as it may induce vomiting and laryngospasm.
- An oropharyngeal airway should not be regarded as a definitive airway.
- The appropriate size of airway should always be estimated.
- The correct insertion technique should be adopted to minimise complications.
Estimating the correct size
It is important to estimate the correct size. An oropharyngeal airway that is too big may occlude the airway by displacing the epiglottis (Jevon, 2009), may hinder the use of a face mask and may damage laryngeal structures, while one that is too small may occlude the airway by pushing the tongue back.
An appropriately sized airway is one that holds the tongue in the normal anatomical position and follows its natural curvature (Jevon, 2006b). The curved body of the oropharyngeal airway is designed to fit over the back of the tongue.
The correct size is one that equates to the vertical distance from the angle of the jaw to the incisors (Resuscitation Council (UK), 2011); this can be estimated by placing the airway against the face and measuring it from the patient’s incisors to the angle of the jaw. A variety of different sizes are available, though normally sizes 2, 3 and 4 are adequate for small, medium and large adults, respectively (Resuscitation Council (UK), 2011).
Procedure for insertion
The correct insertion technique should be used in order to avoid unnecessary trauma to the delicate tissues in the mouth and so as not to inadvertently block the airway.
- Ensure the patient is in a supine position.
- Don gloves (if available).
- Clear the patient’s airway, suction the mouth if necessary.
- Estimate the correct size by placing the airway against the patient’s face and measuring it from the angle of the jaw to the incisors (Figure 10.5).
- If possible, lubricate the airway before insertion (practically, in the emergency situation, this is rarely done).
- Open the patient’s mouth, clear the airway by suction if necessary and insert the airway in the inverted position (Figure 10.6) (the curved part of the airway will help depress the tongue and prevent it from being pushed posteriorly).
- As it passes over the soft palate, rotate the airway through 180 degrees (Figure 10.7).
- After insertion, confirm that the airway has been positioned correctly: the patient’s airway should be improved and the flattened, reinforced section should be positioned between the patient’s teeth, or between the gums, if edentulous (Resuscitation Council (UK), 2011).
- Closely monitor the patency and position of the airway; it can become blocked by the tongue or epiglottis and can become wedged into the vallecula (Marsh et al., 1991). Vomit, secretions and blood can also compromise its patency.
Source: Jevon (2006b)
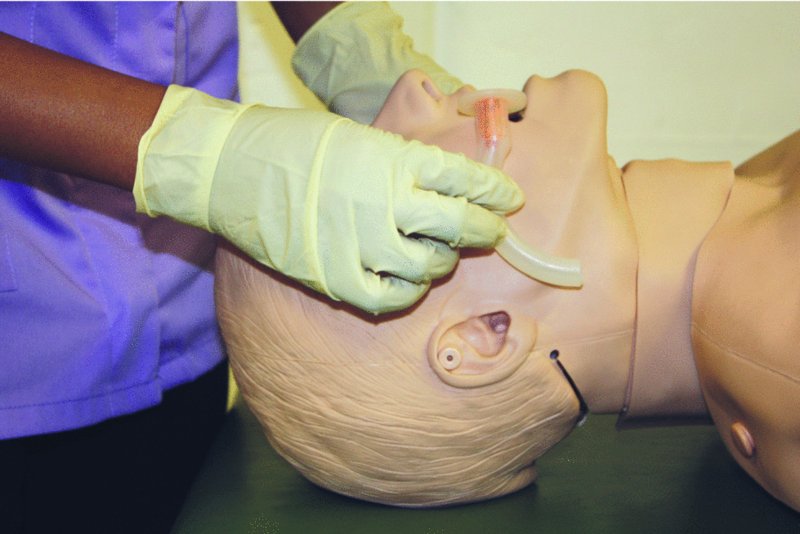
Figure 10.5 Insertion of oropharyngeal airway: estimating the correct size.
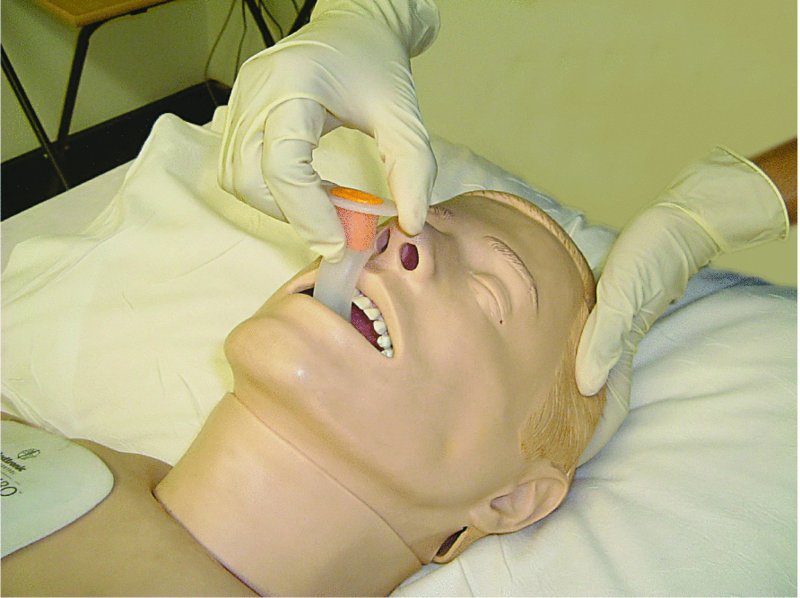
Figure 10.6 Insertion of oropharyngeal airway: insert the airway in the inverted position initially.
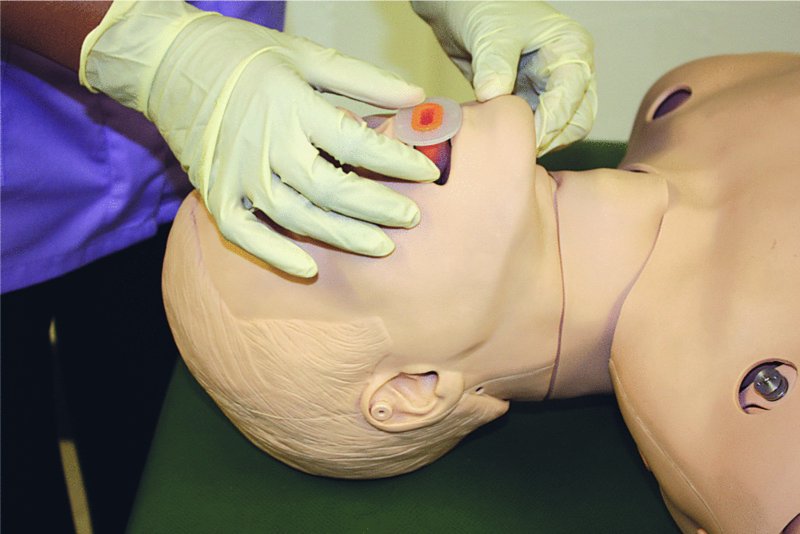
Figure 10.7 Insertion of oropharyngeal airway: as it passes over the soft palate, rotate the airway through 180 degrees.
Stay updated, free dental videos. Join our Telegram channel
VIDEdental - Online dental courses


