CHAPTER 25 Implant Prosthodontics: Design and Fabrication of a Hybrid Bridge Fixed-Detachable Prosthesis
FULLY EDENTULOUS ARCH
Provisional Restoration
The completely edentulous jaw can be restored with one of two types of provisional prostheses before and during implant treatment. The provisional restorations may be complete removable dentures or provisional fixed bridges made subsequent to the second stage of surgery. Chapter 21 describes in detail the manner in which any of the designs selected for patient comfort can be fabricated.
Surgical Template
A surgical template is necessary to place and position implants accurately and predictably. The surgical template for a hybrid bridge should show what the final prosthesis will look like, including buccal position, incisal edge position, overall height, and cingulum and occlusal areas of the teeth. If the patient is wearing a denture in which tooth positions are to be replicated, this denture is used as a guide for construction of the surgical template. If a change in tooth positioning is planned, a trial denture is constructed that demonstrates the new dental alignment, and it is used for template duplication. Chapter 20 presents the techniques for fabricating surgical templates.
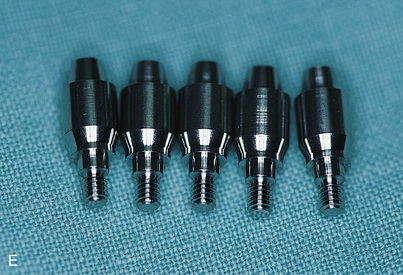
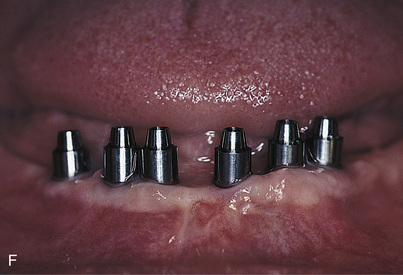
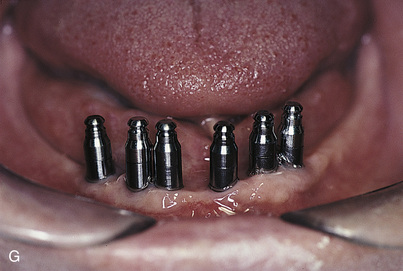
Abutment Selection
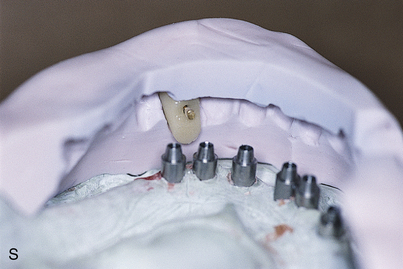
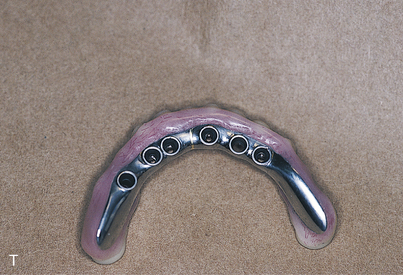
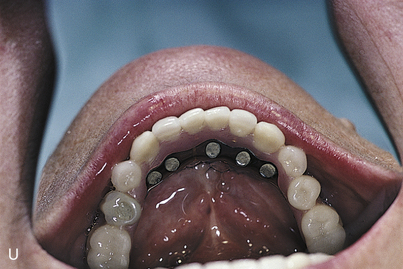
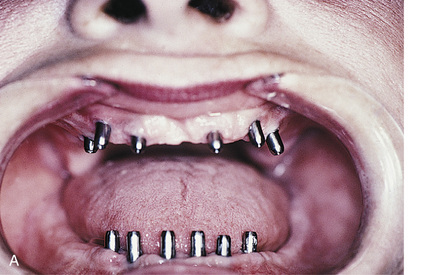
After the implants have been exposed and the healing collars removed, the abutments are chosen. Shouldered, standard, or conical abutments are used for hybrid bridges (see Chapter 22). The abutments act as platforms on which the hybrid bridge framework seats. Abutments of a height that places their interfaces with the hybrid cast framework at the level of the soft tissue should be selected. This allows the prosthesis to be adapted to the soft tissues, blocking out all spaces. It also helps prevent food from becoming lodged beneath the framework, and neither saliva nor air can escape from beneath the ridge lap. The soft tissue beneath the hybrid frame is sufficiently compliant to allow a Proxybrush to perform successful ablutions.
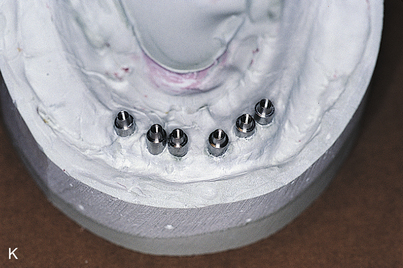
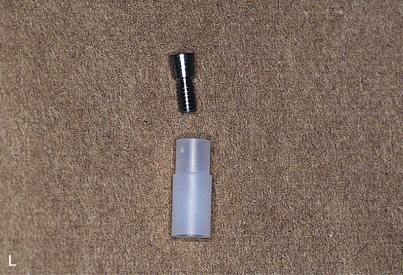
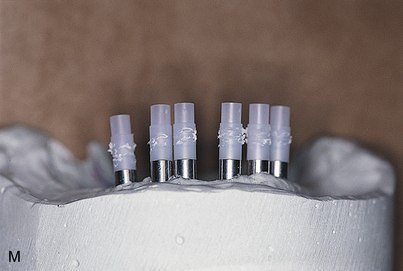
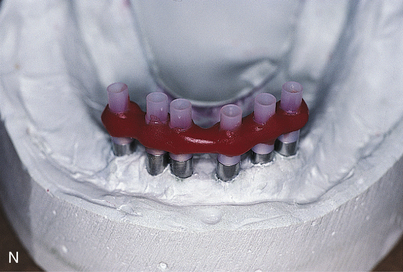
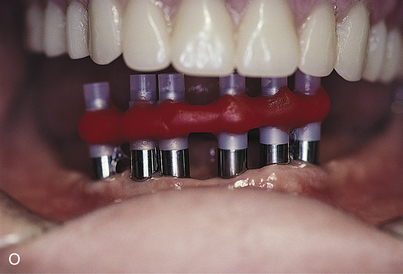
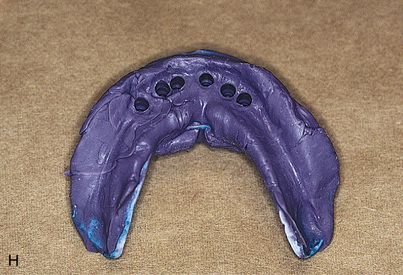
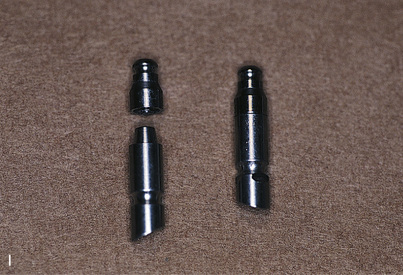
Abutments can be fitted directly in the patient’s mouth or from the master cast after impressions are completed. After the abutments have been firmly placed with a recommended torque wrench, impressions are made using the square or tapered coping techniques described in Chapter 24 (Fig. 25-1, A to K).


Prosthetic Technique
Chapter 24 presents the technique for computer-aided design/computer-aided manufacture (CAD/CAM) fabrication of the abutment-supported bar.
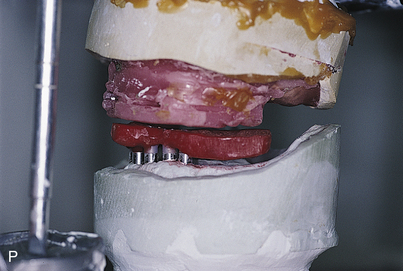
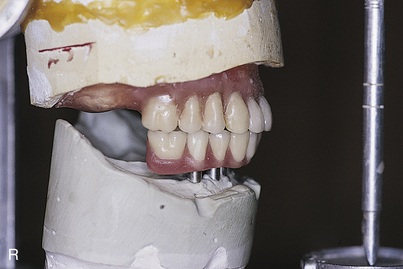
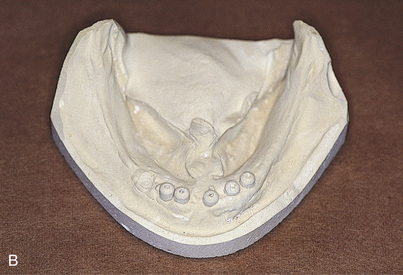
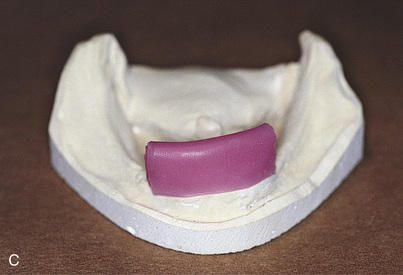
The final casts are completed by using analogs on which the final hybrid bar is fabricated. The guidelines presented in Chapter 21 are followed to convert temporization from a relined overdenture to an interim fixed prosthesis.
Stay updated, free dental videos. Join our Telegram channel
VIDEdental - Online dental courses


