Impression Materials and Laboratory Procedures
Learning Objectives
1 Pronounce, define, and spell the Key Terms.
2 Describe the types of impression trays and their characteristics of use.
3 Discuss hydrocolloid impression materials and their uses, mixing techniques, and application.
4 List the uses of a diagnostic cast.
5 Discuss elastomeric impression materials and their uses, mixing techniques, and application.
6 Describe the importance of a bite registration and its uses in a procedure.
Key Terms
Alginate
Automix
Centric
Diagnostic Cast
Extrude
Impression
Model Trimmer
Perforated
Plaster
Polyether
Polysulfide
Registration
Silicone
Stone
Trays
Viscosity
In many dental procedures, an impression will be taken. Impressions in dentistry are used for creating a model for diagnosing conditions, making custom trays, making a temporary crown, or for the laboratory technician to create a permanent indirect casting. Because of the many uses of an impression, many types of impression materials are available.
The dental assistant is responsible for knowing the different types of impression materials used in the office, the setup for the procedure, the mixing of the material, and either assisting in the procedure or the actual taking of the impression.
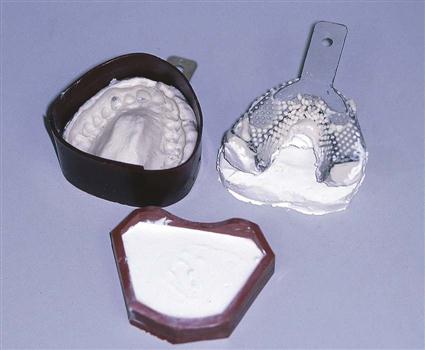
Impression Trays
Impression trays are designed for obtaining an accurate impression of the area required. The type of tray selected for a procedure will depend on (1) the dentist’s preference and (2) what will provide the most accurate result for the type of impression material being used.
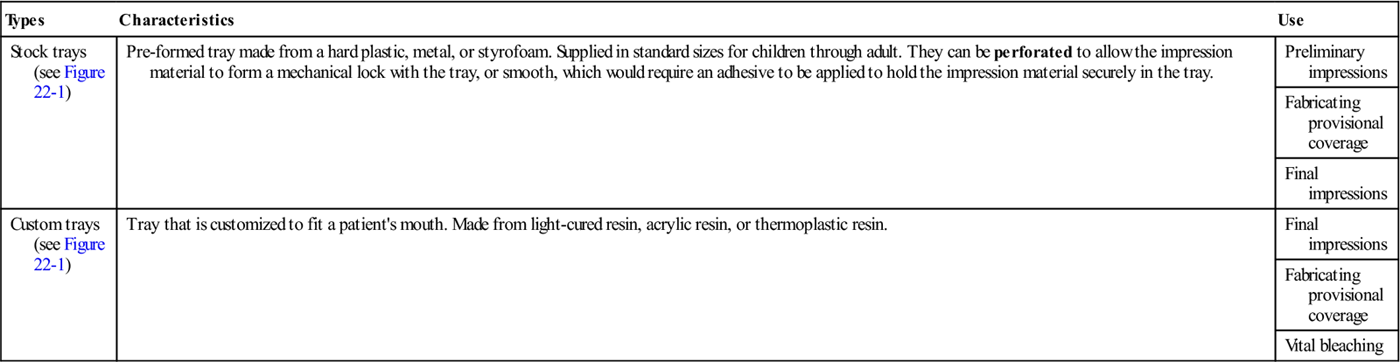
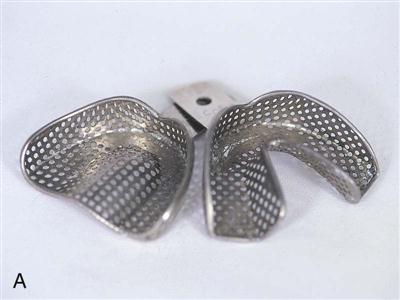
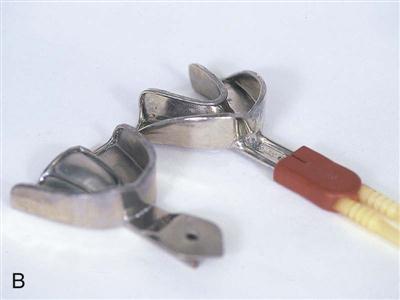
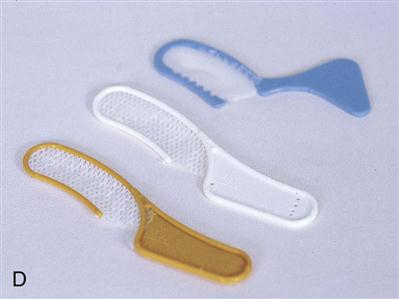
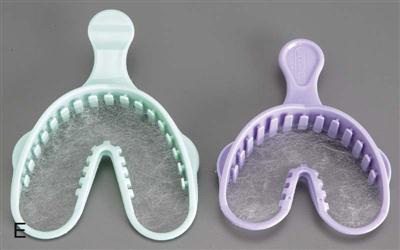
Impression trays are supplied as quadrant trays, which cover half of the arch; section trays, which are suited for the anterior teeth; and full arch trays, which cover the complete arch. Table 22-1 reviews the different types of trays available (Figure 22-1).
TABLE 22-1
< ?comst?>
| Types | Characteristics | Use |
| Stock trays (see Figure 22-1) | Pre-formed tray made from a hard plastic, metal, or styrofoam. Supplied in standard sizes for children through adult. They can be perforated to allow the impression material to form a mechanical lock with the tray, or smooth, which would require an adhesive to be applied to hold the impression material securely in the tray. | Preliminary impressions |
| Fabricating provisional coverage | ||
| Final impressions | ||
| Custom trays (see Figure 22-1) | Tray that is customized to fit a patient’s mouth. Made from light-cured resin, acrylic resin, or thermoplastic resin. | Final impressions |
| Fabricating provisional coverage | ||
| Vital bleaching |
< ?comen?>< ?comst1?>
< ?comst1?>
< ?comen1?>
Impression Materials
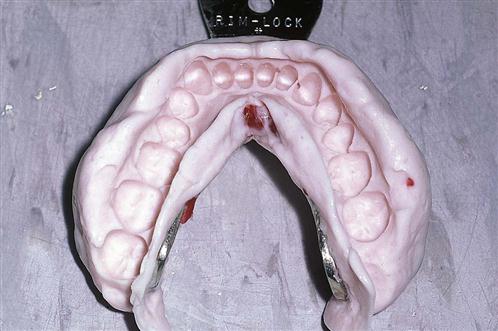
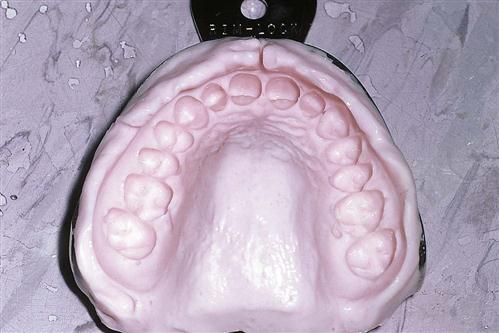
Impression materials are selected because of their unique qualities that allow the dentist to get the most accurate reproduction of the tooth and surrounding tissues. An impression is a negative reproduction of the teeth and their surrounding structures. When an impression is poured in stone or plaster to make a model, it creates a positive reproduction of the teeth and their surrounding structures. This model is referred to as a cast.
There are three types of impressions that can be obtained (Box 22-1):

Preliminary Impressions
Preliminary impressions are used to create a reproduction of the teeth and surrounding tissues. A preliminary impression can be taken by the dentist or by the expanded-functions dental assistant.
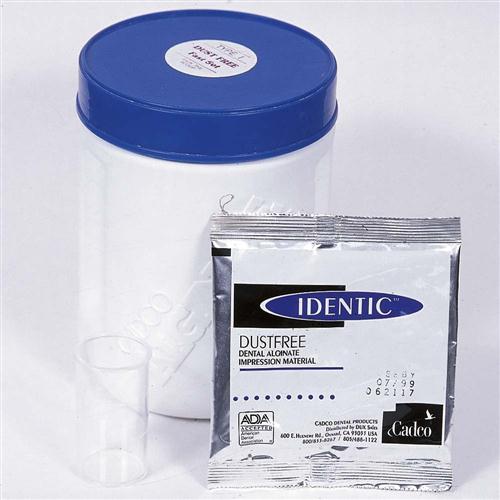
Alginate
Alginate is an irreversible hydrocolloid (“hydro” meaning water and “colloid” meaning a gelatinous substance) and is the material of choice when taking preliminary impressions. Alginate consists of potassium alginate, which is derived from seaweed; calcium sulfate; trisodium phosphate; diatomaceous earth; zinc oxide; and potassium titanium fluoride. This material has two physical phases that it goes through when setting: a sol (solution) phase, where the material is in a liquid or semiliquid form; and a gel (solid) phase, where the material becomes semisolid.
The material is available in two settings: normal set, which has a working time of 2 minutes and a setting time of up to  minutes, and fast set, which has a working time of
  minutes and a setting time of 1 to 2 minutes.
Alginate is supplied as a powder, packaged in premeasured packages or in bulk canisters. A plastic scoop is provided for dispensing the powder, and a plastic cylinder is supplied for measuring the water (Figure 22-5). The water-to-powder ratio for mixing alginate is 1 scoop of powder to 1 “measure line” of water. When mixing the material for a mandibular impression, generally 2 scoops of powder and 2 measure lines of water are required. For a maxillary impression, 3 scoops of powder and 3 measure lines of water are necessary.
See Procedure 22-1: Mixing Alginate Impression Material.
Taking Alginate Impressions
It is important for the clinical assistant to be ready to mix the alginate, load the tray, and help keep the patient comfortable while the dentist takes the impression. If this procedure is a legal function in the state in which the dental assistant works, then he or she would proceed with taking the impression. When taking an impression, there are specific steps to be followed to gain an accurate impression (Box 22-2). Before taking the impression, the procedure should be explained to the patient to ensure his or her comfort. The patient should be informed of the following:
See Procedures 22-2: Taking a Mandibular Preliminary Impression (Expanded Function), and 22-3: Taking a Maxillary Preliminary Impression (Expanded Function).
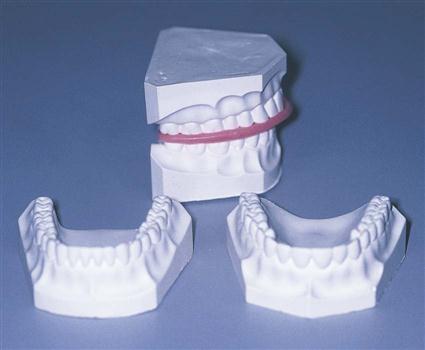
Diagnostic Casts
A diagnostic cast is the model that is made from the impression. The materials most commonly used to create diagnostic casts are model plaster and dental stone.
Model plaster, which is a derivative of plaster of Paris, is used when strength is not essential and dimensional accuracy is not critical. Model plaster is easy to trim and is excellent for diagnostic casts because of its clean appearance (Figure 22-6).
Dental stone, which is a form of gypsum, is stronger than model plaster and is commonly used when a more durable diagnostic cast is required, for example, when used as a working model to make a retainer, a custom tray, or a casting by the laboratory technician.
Water-to-Powder Ratios
Although plaster and dental stone have the same chemical formulas, their physical structures are different, and it is necessary to use specific water-to-powder ratios for each. The water-to-powder ratio has a dramatic effect on the setting time and strength of any gypsum product. Water is measured by volume (cc), and powder is measured by weight (g).
Each type of cast has an optimal water-to-powder ratio, which has been specified by the manufacturer. These ratios should be carefully followed. The following are the recommended water-to-powder ratios for one impression, including the base:
Influences on Setting Time
It is important to have enough working time to mix the material and transfer it into the impression. Setting time is the length of time it takes for the mixture of stone or plaster to turn into a rigid solid. The setting time of gypsum products is influenced by the factors described in Table 22-2.
TABLE 22-2
Factors Influencing the Setting of Gypsum
| Factors | Reaction |
| Type of gypsum | Model plaster sets faster than dental stone. |
| Water-to-powder ratio | The less water used, the faster the set. |
| Mixing | The longer and faster the mixing, the faster the set. |
| Temperature of water | For best results, water should be at room temperature and no warmer than 70° F (21.1° C). The warmer the water, the faster the set. |
| Humidity | On a humid day, the gypsum can absorb water, which will slow the set. |
Pouring Diagnostic Casts
Three methods are commonly used for pouring diagnostic casts: the double-pour method, the box-and-pour method, and the inverted-pour method. These differ only in the way the base portion is formed (Figure 22-7).
See Procedure 22-5: Pouring Dental Models Using Inverted-Pour Method.
Trimming and Finishing Diagnostic Casts
When diagnostic casts are to be used for a case presentation or as part of the patient’s permanent record, they should have an esthetic appearance. This is accomplished by trimming the casts to a geometric standard.
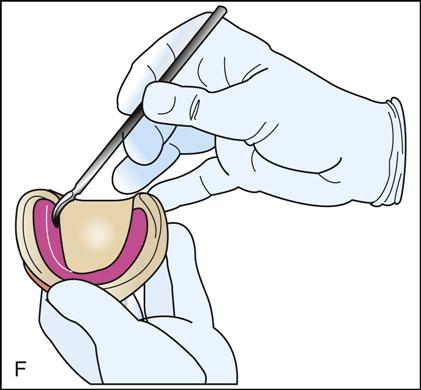
Casts are trimmed by using a model trimmer (Figure 22-8). A model trimmer is a device that is set up in the lab. The trimmer has a circular abrasive wheel that is set at 90 degrees to the cast. The wax bite registration is used to articulate the casts during the trimming process.
The cast consists of anatomic and art portions (Figure 22-9).

The anatomic portion includes the teeth, oral mucosa, and muscle attachments. This portion should make up two thirds of the overall cast.
The art portion forms the base. This section should be no more than one-half inch thick and should make up one third of the overall cast.
Final Impression Materials
As discussed earlier in the chapter, final impression materials are designed to provide the dentist and laboratory technician a more accurate definition of a prepared tooth and/or surrounding gingival structures.
Elastomeric Impression Materials
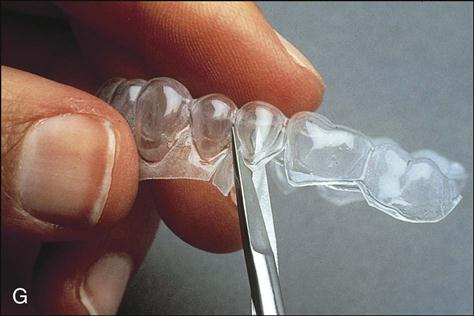
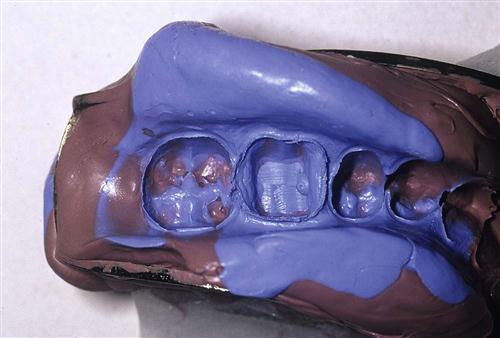
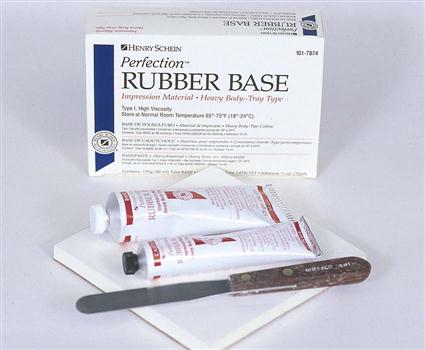
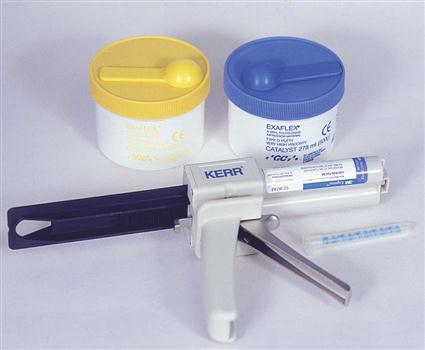
Elastomeric impression materials have an elastic or rubber-like quality after setting. These materials are supplied as a base and a catalyst and are self-curing. Impression material is packaged several ways for preference of use: tubes of paste, cartridge, or putty system (Figures 22-10 and 22-11).
Final impression materials are supplied in three forms or viscosities (viscosity is the ability of the material to flow):
Types of Impression Materials
The types of final impression materials commonly used in dental practice are polysulfide, polyether, condensation silicone, and addition silicone. Each type of material has different properties and characteristics. Table 22-3 provides a summary of the comparative properties of these materials.
TABLE 22-3
Properties of Final Impression Materials
| Type | Characteristics | Working Ability |
| Polysulfide | A paste material supplied in two tubes. A strong odor and taste are associated with the material. The stiffness and stability of the material are poor. | A harder material to mix. It has a longer mixing time of 60 seconds and a longer setting time of 10-20 minutes. |
| Polyether | A paste material supplied in tubes or cartridges that has an acceptable odor and taste. The stiffness and stability of the material are very good. | An easy material to mix, with a short mixing time of 30-45 seconds, and a fast setting time of 6-7 minutes. |
| Condensation silicone | Material supplied as a paste and a liquid. It has an acceptable odor and taste. The stiffness and stability are average. | A fairly easy material to mix, with an average mixing time of 30-60 seconds, and an average setting time of 6-10 minutes. |
| Addition silicone | A paste material supplied as a two-paste system, as a putty material, or in cartridges. This material has an acceptable odor and taste. The stiffness and stability are excellent. | An easy material to mix, with a short mixing time of 30-45 seconds, and an average setting time of 6-8/> |
Stay updated, free dental videos. Join our Telegram channel
VIDEdental - Online dental courses


