CHAPTER 13 Ramus Frame and Ramus Blade Implant Surgery
CAVEATS
To keep incisions to the minimum length, preoperative measurements must be taken carefully.
RA-2 RAMUS FRAME (PACIFIC IMPLANT COMPANY)
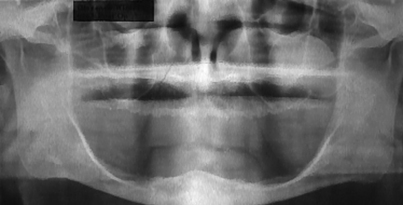
The RA-2 implant may be used to support an overdenture for patients with atrophied mandibles (Fig. 13-1). This implant originally was made of 316L surgical stainless steel, but more recently it has been made of grade 2 surgical titanium. The RA-2 is a one-piece, tripodal design implant and is available in only one size.
Surgery
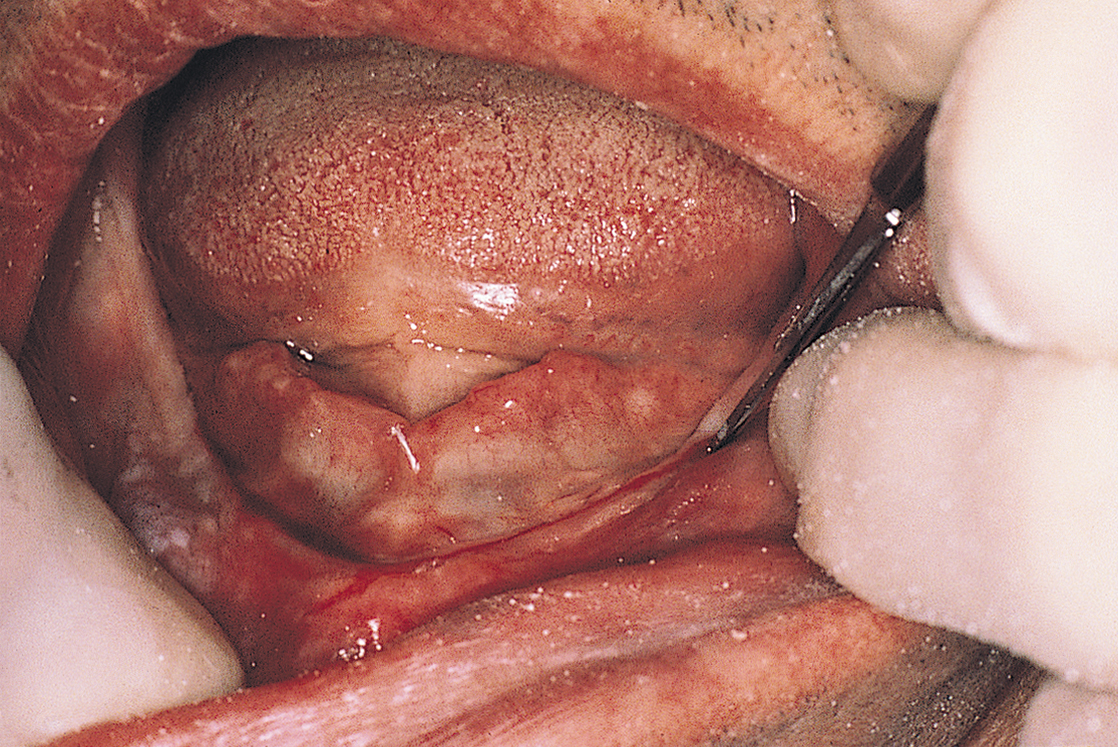
The patient is anesthetized with bilateral mandibular and long buccal blocks and local infiltration. A full-thickness incision then is made along the crest of the ridge in the anterior region of the mandible. The incision is started at the area just distal to the mental foramen and proceeds around to the opposite side. It will be approximately 25 mm long (Fig. 13-2).
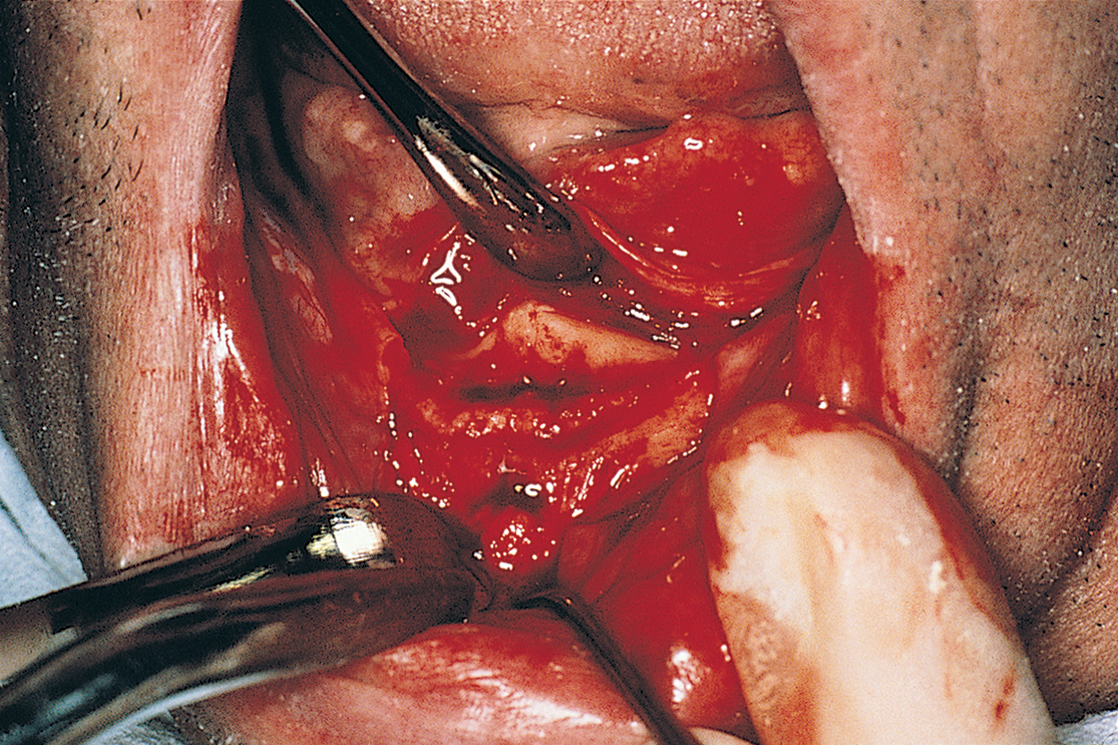
The flaps are reflected lingually and labially, and an anterior vertical relieving incision is made just lateral to the labial frenulum to facilitate this procedure (Fig. 13-3). The bony site is explored for lingual and labial concavities, as well as for adequate height. The mental nerve should be protected; this is best ensured by exposing the superior halves of the foramina (see Chapter 8).
Rongeur forceps and then bone files and burs are used to level and flatten the alveolar crest.
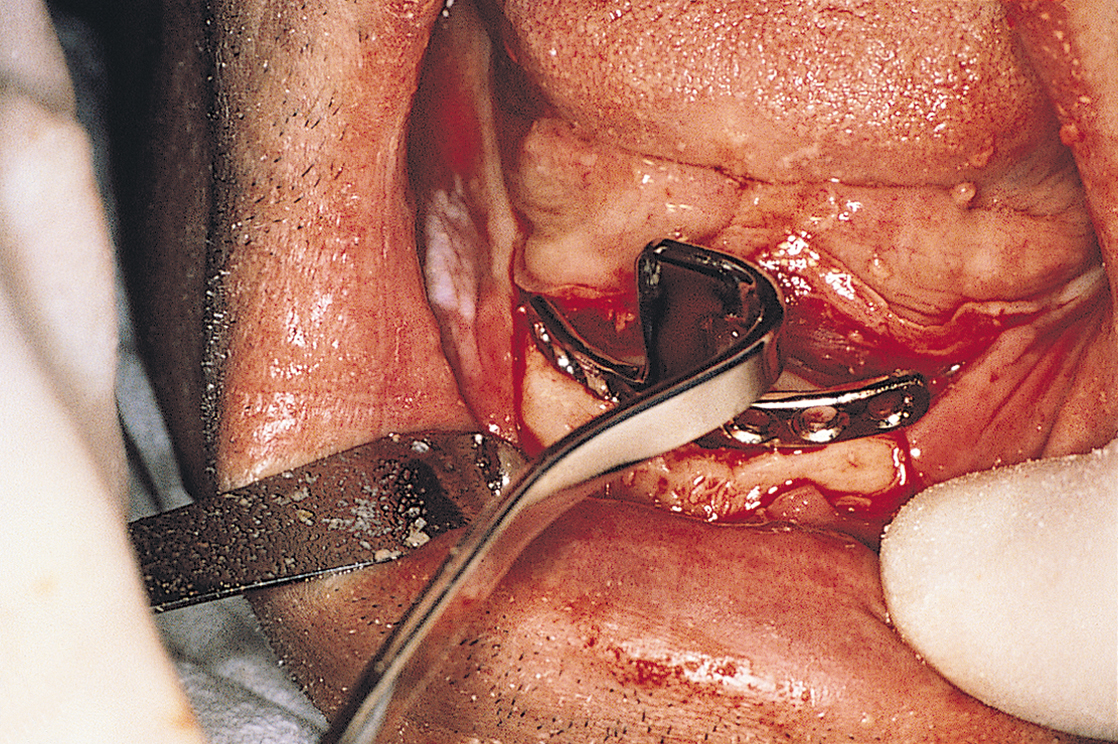
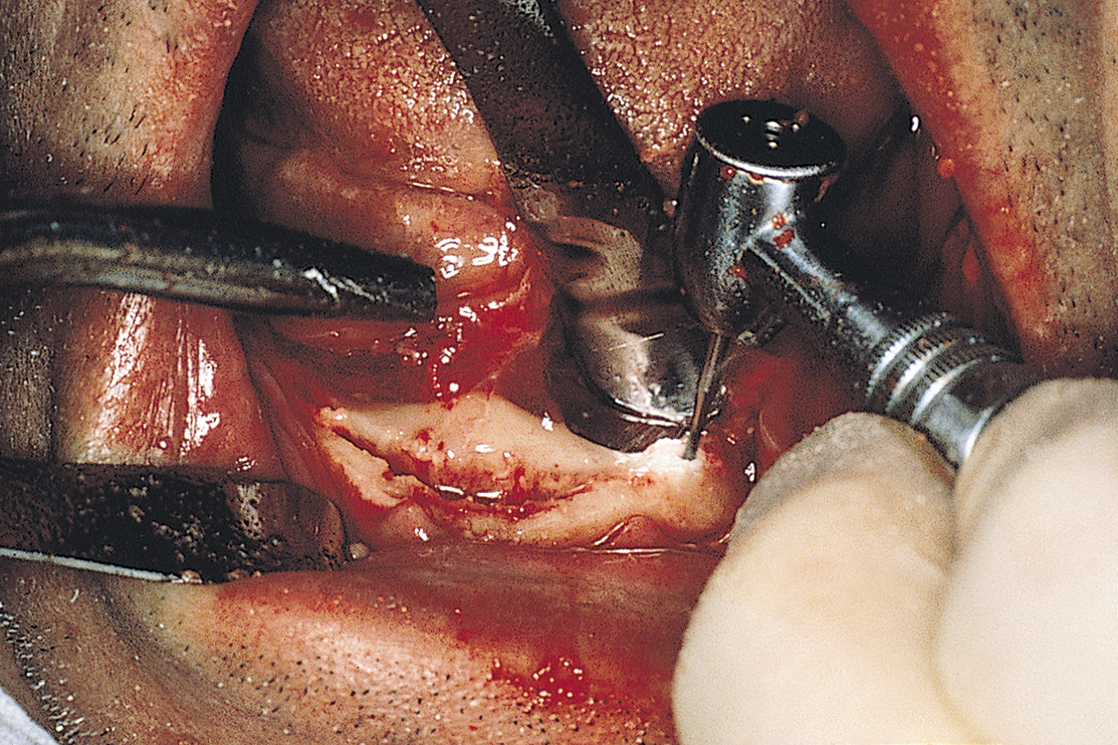
The anterior try-in template is placed at the crest of the ridge and used as a guide for making the osteotomy (Fig. 13-4). This cut is made with a 557L surgical bur in a high-speed handpiece in the same manner as for conventional blade or plate-form implants. First, sketching perforations are made with a No. 2 round bur. If they are well aligned, the 557L fissure bur is used to convert them into a continuous groove (Fig. 13-5). The osteotomy is deepened to 6 mm if the vertical bone height is 10 mm or less; if 10 to 20 mm of height is available, the osteotomy should be 8 mm deep. The osteotomy is canted labially, and its base is placed in a slightly more anterior position than at the crest. Angling the bur in an anterior direction keeps it parallel to the ideal host site in a midcortical posture.
A point 18 mm distal to the end of the anterior osteotomy is measured and marked; this is the site where the posterior osteo-tomy begins (Fig. 13-6). It should be noted that the posterior try-in template has two marks on it, at 18 mm and at 30 mm.
The posterior template is placed on the crest of the ridge with the 30-mm mark on the ramus at the posterior end of the projected osteotomy and the anterior mark at the 18-mm point. The template is placed at the angulation of the long axis of the ramus and 2 mm medial to the lateral cortical plate. It acts as a guide for the osteotomy, which should be as close to a straight line as is possible.
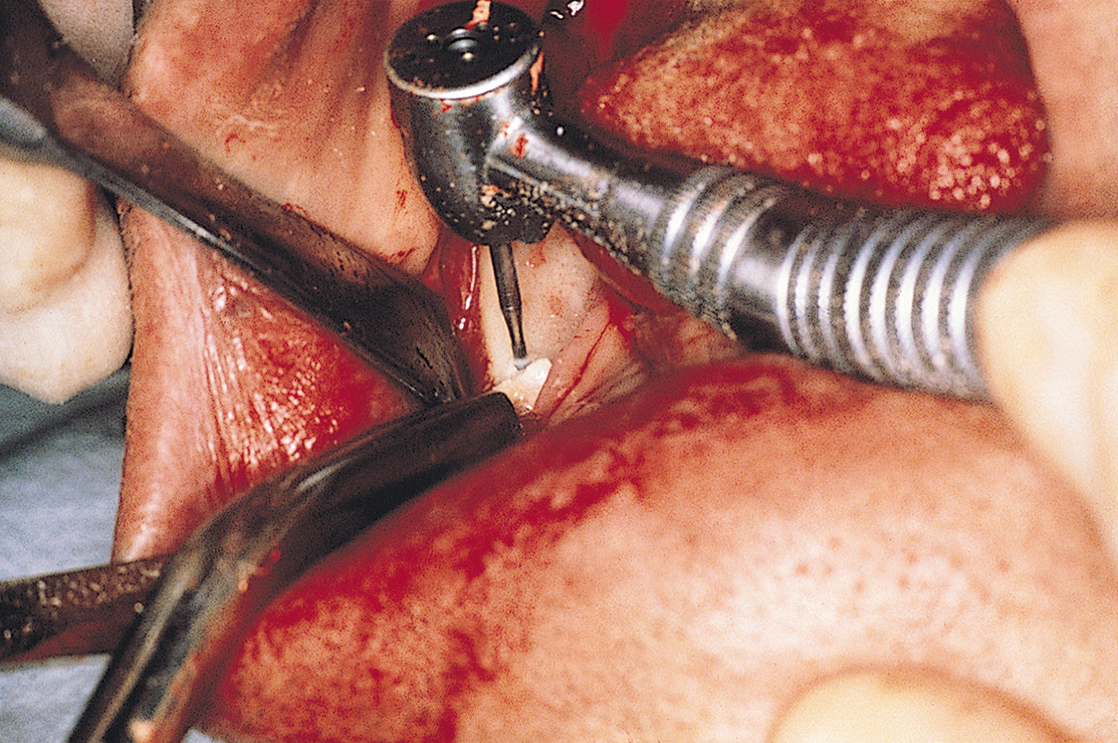
With a No. 1 round bur, a series of perforations is made just through the cortical plate. They should be 1.5 to 2 mm apart along this line, beginning at 30 mm and working forward to 18 mm (Fig. 13-7). The surgeon’s tactile sense indicates when the cortex has been perforated and the marrow cavity reached. The template must guide the placement of the dots. When they have been completed, the surgeon evaluates their alignment and accuracy and makes corrections, if necessary. A 701L surgical bur then is used to connect and deepen the dots. The resultant groove is completed when it reaches a depth of 6 mm, which is 1 mm deeper than the flutes of the bur.
Stay updated, free dental videos. Join our Telegram channel
VIDEdental - Online dental courses


