CHAPTER 10 Root Form Implant Surgery: Proprietary I
The generic steps leading to the definitive procedures described in this section can be found in Chapter 9. Not all the systems described in this chapter begin after the use of the 3-mm spade drill. For example, for small-diameter implants, the sequence must stop at the 2.5- or 2.7-mm drill. If the surgeon uses the 3-mm spade drill for these systems, the host sites will be too wide. Therefore, the dental surgeon must read each section carefully before beginning.
Although this chapter may not mention all the implant sizes available, Table 4-2 lists dimensions for each type and style. For the practitioner who does not want to use the generic system, as described in Chapter 9, to begin the osteotomy for the chosen implant system, the illustrations begin their instructive patterns with the full spectrum of drills, starting with the smallest diameter offered by the specific manufacturer.
 Lock
LockNOBEL BIOCARE
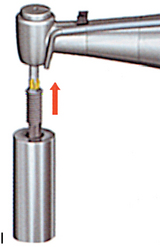
Joining the Procedure in Progress
The generic process (see Chapter 9) will have been performed up to this point; that is, the 3-mm twist drill will have been used to its final depth. The procedure then follows these steps.
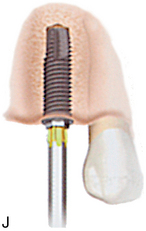
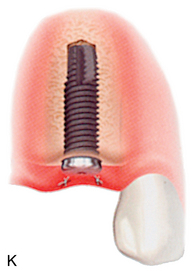
The uncovering procedure is described in Chapter 9. The appropriate healing collar or cuff or an abutment is placed, depending on the thickness of the tissue and its esthetic needs. Healing cuffs should protrude approximately 2 mm above the free gingival margin. Special abutments are used that are similar in contour and diameter to the anticipated restoration. These abutments are kept in position until the tissues have matured sufficiently to allow the impression procedures. Generally, this takes 2 weeks.
Brånemark System
Mk III TiUnite and Mk IV TiUnite
Mk III (Narrow Platform, Regular Platform, and Wide Platform)
The Mk III implant is a universal, self-tapping implant that can be used for all conditions in which sufficient bone volume is available for an implant. (Refer to Chapters 2, 4, and 7 for bone volume criteria for root form implants.) Mk III implants are available in three diameters: narrow platform (NP), 3.3 mm; regular platform (RP), 3.75 and 4 mm; and wide platform (WP), 5 mm. Seven lengths are available: 7, 8.5, 10, 11.5, 13, 15, and 18 mm. The line also includes a 5.5-mm long implant (i.e., the NobelSpeedy Shorty), which has been approved for immediate function. The osteotomy sequence and protocol for this implant are similar to those for the NobelSpeedy Groovy implant.
The Mk III 3.75- and 4-mm diameter RP implants are used for the widest range of conditions. RP implants have an extensive selection of implant restorative components.
NOTE
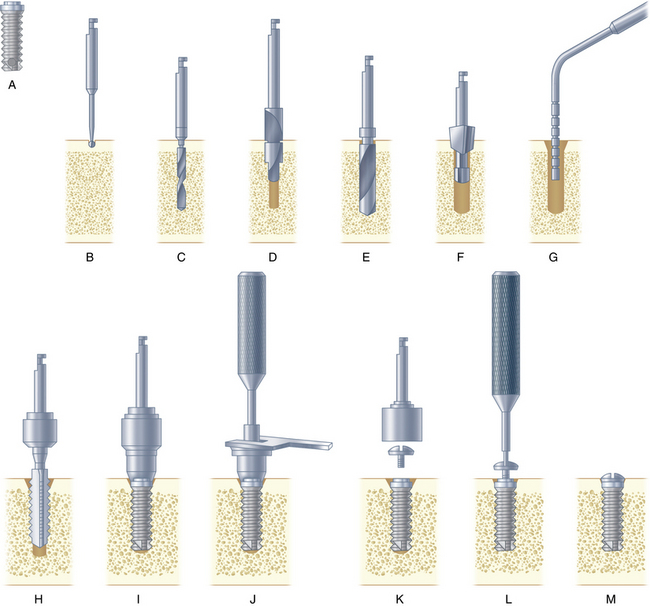
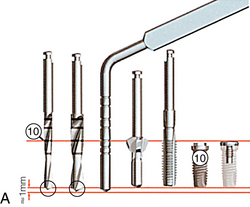
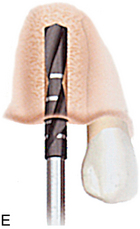
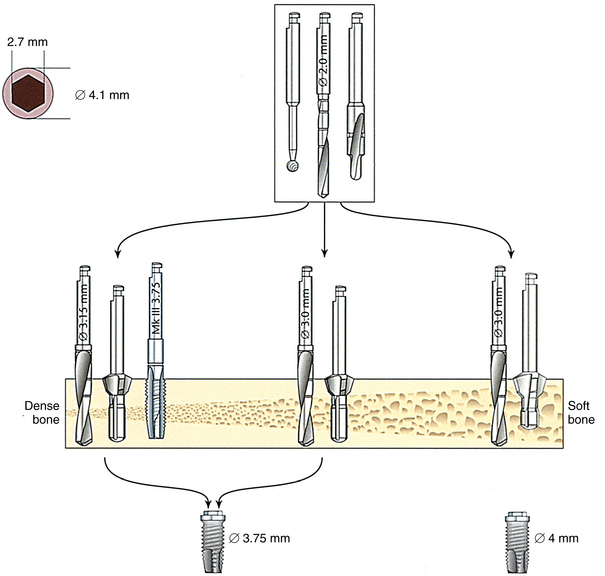
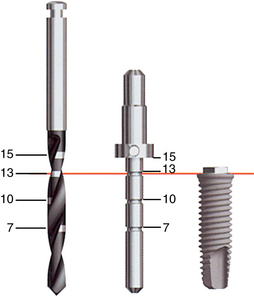
The graduations on the twist drills and depth gauge represent the height of the implant plus a cover screw (Fig. 10-3).
FIGURE 10-3. Straight-walled external hex. Sequence of the osteotomy from initial pilot twist drill to the cover screw.
(Courtesy Nobel Biocare, Yorba Linda, Calif.)
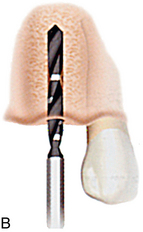
Osteotomy Procedure
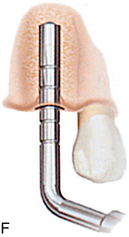
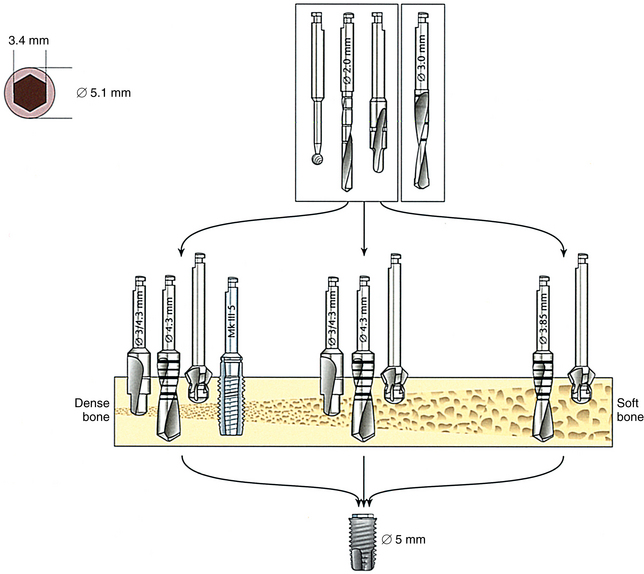
Mk III ∅︀ 3.3-mm NP Implant
Fig. 10-4 presents the osteotomy sequence for a narrow-platform implant.
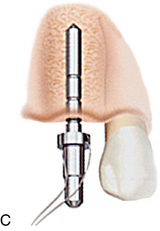
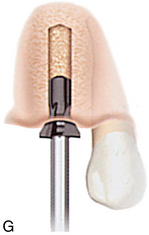
Mk III ∅︀ 3.75- and 4-mm RP Implants
The crestal preparation drill and final shaping drill for an RP implant are shown in Fig. 10-5.
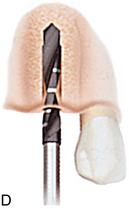
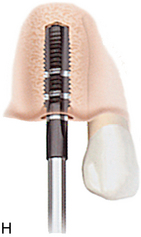
Mk III ∅︀ 5-mm WP Implant
The crestal preparation drill and final shaping drill for a WP implant are shown in Fig. 10-6.
Drilling Procedure
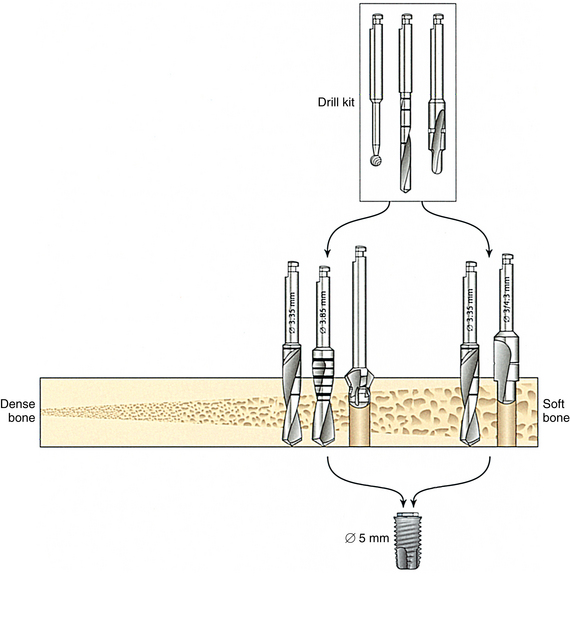
Mk IV ∅︀ 4-mm RP Implant.
The Mk IV implant is recommended for use in predominantly soft bone (classes III and IV). The surgeon must pay particular attention to bone quality. Optimum results depend on selection of the appropriate drill diameter after the bone quality at each site has been evaluated. In principle, the osteotomy sequences are the same as for placement of a Mk III implant (Fig. 10-7).
Class IV (Very Soft) Bone.
NOTE
Class III (Soft to Moderately Soft) Bone.
The process for drilling in soft to moderately soft bone is as follows:
NOTE
Class I and Class II (Cortical) Bone.
The Mk IV implant is not recommended for use when predominantly dense cortical bone is present. In some patients, 2 to 3 mm of dense cortical bone is found in the posterior mandible, with loose trabecular bone underneath. Even if the rest of the bone in the area is soft, seating the Mk IV implant may be difficult because the implant cannot compress the thick layer of cortical bone. In such cases, the Mk IV Screw Tap can be used through the cortical layer (Fig. 10-8).
Zygoma Implant
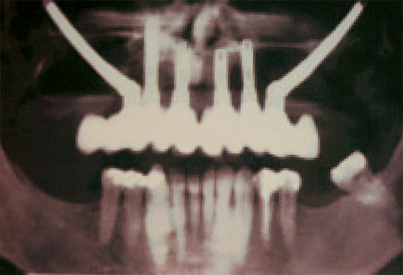
Consequently, Zygoma implants should be rigidly connected to stable conventional fixtures in the anterior maxilla. Based on clinical experience and biomechanical theoretical calculations, a full arch restoration in the maxilla with two Zygoma implants (one on each side) should be assisted by at least two stable, standard Brånemark implants in the anterior maxilla, or even better, by four standard implants (Fig. 10-10).
Stay updated, free dental videos. Join our Telegram channel
VIDEdental - Online dental courses


