4
Endoscope Use in Daily Hygiene Practice
Kara Webb and Angela R. Anderson
The images in this section are to be used to provide orientation before accessing the video link (available on the book companion website ). Figure 4.1 shows the clinical representation of how the endoscope shield is placed in the sulcus. The remaining images are representative of the subgingival environment.
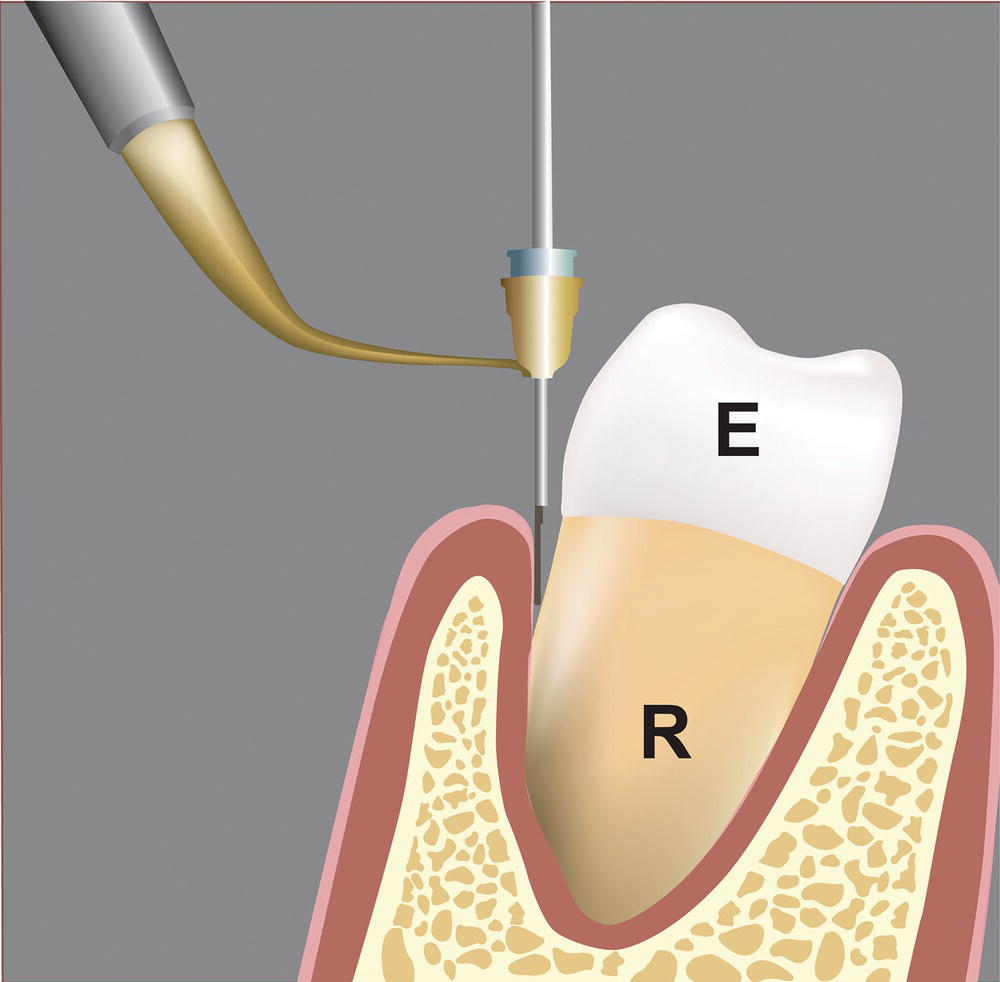
Figure 4.1 Endoscope shown placed in the sulcus at the level of the CEJ.
In the past, dental hygienists had traditional closed subgingival scaling and root planing as the only option for treating periodontal disease. Technology brought hygiene to the next level with the introduction of dental endoscopy over a decade ago. It has become an invaluable tool for the hygienist in the treatment of periodontal disease and peri-implantitis. The endoscope aids in diagnosis and improves scaling outcomes. Learning to use the endoscope takes time; but with patience and determination, hygienists will wonder how they practiced without it.
Advantages
The endoscope provides advantages for the patient as well as the hygienist. It offers a way to remove calculus to a degree that prior to its introduction was only possible with periodontal flap surgery. We are able to treat the disease early and to obtain a more thorough, complete scaling in a closed environment often saving the patient the pain and discomfort of a surgical procedure. Calculus is often difficult to remove; therefore, visualization helps the clinician know when the deposits have been completely removed without unnecessarily removing additional tooth structure. For the first time, the endoscope allows the hygienist to see how the instrument adapts to the tooth surface in the sulcus. Watching this process as it happens allows the hygienist to see how to best adapt the instrument around line angles, furcations, and other difficult areas to clean, thereby helping to refine scaling techniques benefiting the hygienist when working without the endoscope.
Learning curve
There are two aspects to the learning curve of using the endoscope. The first is recognizing what is in the field of vision (Figure 4.2). Learning to identify the common landmarks (the CEJ, furcations, restorative margins, etc.) and pathology (caries, cracks, deposits, etc., Figures 4.2, 4.3, 4.4, 4.5, 4.6, 4.7, and 4.8) happens in a short time period. The second is learning to work with the instrument. There are two different approaches for using instruments to remove subgingival deposits. One approach places the endoscope into the sulcus for initial visualization to locate and identify the type of deposit. The endoscope is removed and scaling takes place. The endoscope is then placed back into the sulcus to view the tooth surface and evaluate the efficacy of scaling. With this technique, it usually takes several cycles to achieve the end result. A second approach, where there is adequate room, uses both hands: one for the endoscope and the other for the scaling instruments. This involves training the nondominant hand and has the longest learning curve.
Stay updated, free dental videos. Join our Telegram channel
VIDEdental - Online dental courses


