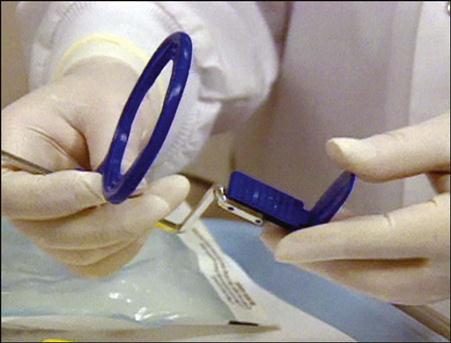
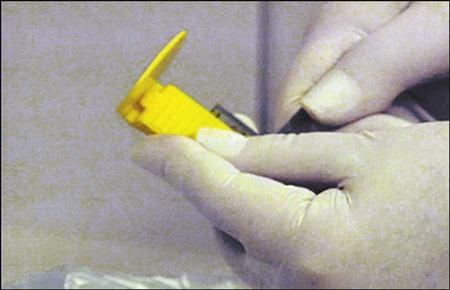
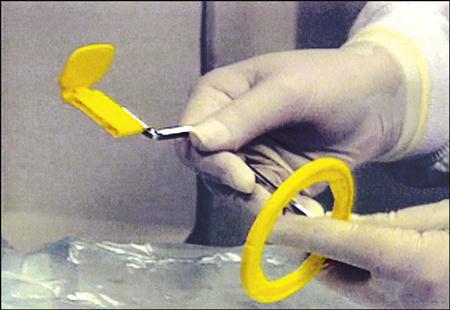
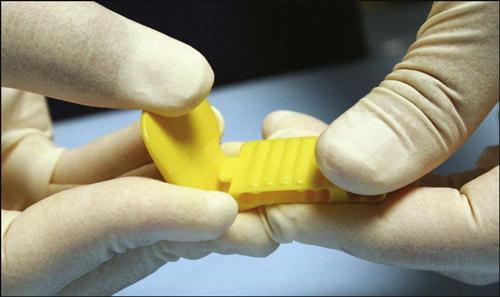
Intraoral Imaging
Learning Outcomes
On completion of this chapter, the student will be able to achieve the following objectives:
• Pronounce, define, and spell the Key Terms.
• Describe how to prepare a patient for dental imaging.
• Explain the advantages and disadvantages of the paralleling and bisecting techniques.
• Explain the basic principle of the paralleling technique.
• Explain why an image receptor holder is necessary with the paralleling technique.
• State the five basic rules of the paralleling technique.
• Label and identify the parts of the Rinn XCP instruments.
• Explain the recommended vertical angulation for all bitewing exposures.
• Explain the basic rules for the bitewing technique.
• Describe the appearance of opened and overlapped contact areas on a dental image.
• Explain the procedural principles of the bisecting technique.
• Identify the image receptor size used in the bisecting technique.
• Describe the result of correct vertical angulation.
• Describe the result of incorrect vertical angulation.
• Identify the types of image receptor holders that can be used with the bisecting technique.
• Explain the technique for exposing occlusal radiographs.
• Describe techniques for managing the patient with a hypersensitive gag reflex.
• Describe techniques for managing patients with physical and mental disabilities.
Performance Outcomes
On completion of this chapter, the student will be able to meet competency standards in the following skills:
• Using the paralleling technique, expose a full series of images using both dental film and sensors.
• Using both dental film and sensors, expose a series of bitewing images.
• Using dental film, expose a maxillary and a mandibular occlusal radiograph.
Electronic Resources
![]() Additional information related to content in Chapter 41 can be found on the companion Evolve Web site.
Additional information related to content in Chapter 41 can be found on the companion Evolve Web site.
• The Interactive Dental Office Patient Case Studies: Christopher Brooks and Antonio DeAngelis
• Labeling Exercise: Identify Correct Horizontal Angulation
• Procedure Sequencing Exercises
• WebLinks
![]() and the Multimedia Procedures DVD
and the Multimedia Procedures DVD
• Assembling the XCP Instruments
• Bisecting Technique (8 videos)
• Bitewing Technique (2 videos)
• Occlusal Technique (Maxillary/Mandibular)
Key Terms
Angulation Alignment of central ray of x-ray beam in horizontal and vertical planes.
Bisecting (bisection of the angle) technique Intraoral technique of exposing dental images.
Bitewing Type of image used for interproximal examination.
Central ray X-ray at center of beam.
Contact area Area of the mesial or distal surfaces of a tooth that touches adjacent tooth in the same arch.
Crestal bone Coronal portion of alveolar bone found between the teeth.
Developmental disability Impairment of mental or physical functioning that usually occurs before adulthood and lasts indefinitely.
Diagnostic quality Referring to images with the proper structures and necessary density, contrast, definition, and detail for diagnostic purposes.
Interproximal Between two adjacent surfaces.
Intersecting Cutting across or through.
Long axis of the tooth Imaginary line dividing the tooth longitudinally (vertically) into two equal halves.
Occlusal technique Used to examine large areas of the upper or lower jaw.
Parallel Moving or lying in the same plane, always separated by the same distance.
Paralleling technique Intraoral technique of exposing periapical and bitewing images.
Perpendicular Intersecting at or forming a right angle.
Physical disability Impairment in certain function(s) of the body, such as vision, hearing, or mobility.
Positioning instrument Device used to hold the image receptor in place during exposure.
Right angle Angle of 90 degrees formed by two lines perpendicular to each other.
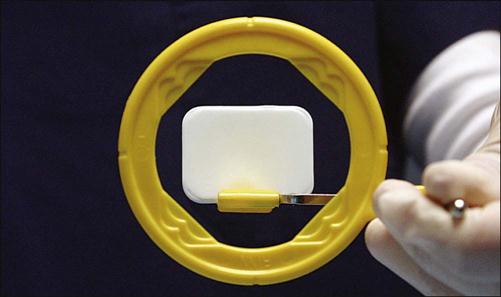
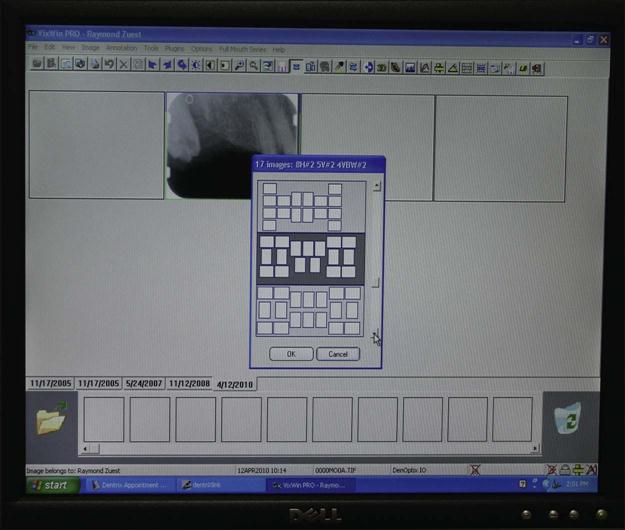
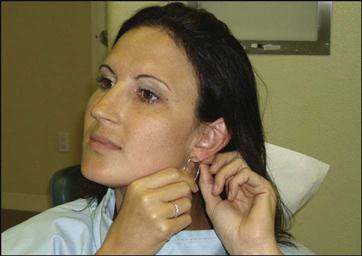
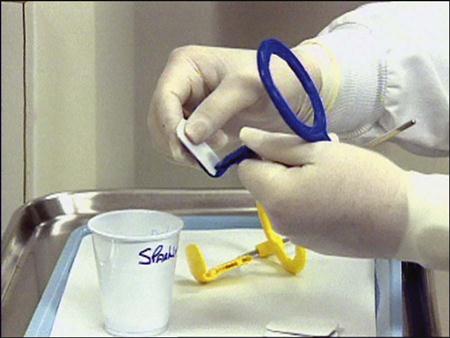
It is possible for every dental assistant to be successful in producing quality dental images that are free from distortion, have the correct density and contrast, and can be used for the detection of dental disease. You can create such images by carefully following the steps in image receptor placement, exposure, and processing (Fig. 41-1).

Your patients will come in a variety of sizes, physical and mental abilities, types of dentitions, and personalities. Often, you will take x-rays on patients with special needs. For example, you will explain x-rays to a 6-year-old patient differently than you will to an adult. Your technique will vary depending on whether you are using digital sensors, phosphor storage plates (PSPs) or conventional dental film. In addition, you will have to modify your technique if your patient has a palate that is very high and narrow, or your patient may have a sensitive gag reflex. This chapter provides guidelines about various situations you are likely to encounter in your career.
Even the most skilled operators can make errors; the ability to recognize errors and to know the steps to take to prevent their recurrence is most important. This chapter explains common technique errors and how to prevent them. In addition, you will learn to recognize and use normal anatomical landmarks in mounting radiographs.
Full-Mouth Survey
No dental examination can be complete without dental images, and, in almost all cases, the full-mouth survey is the preferred technique.
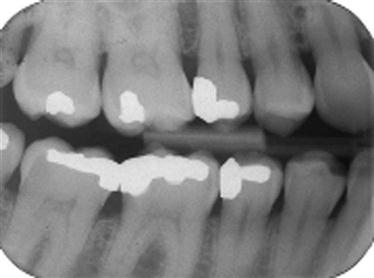
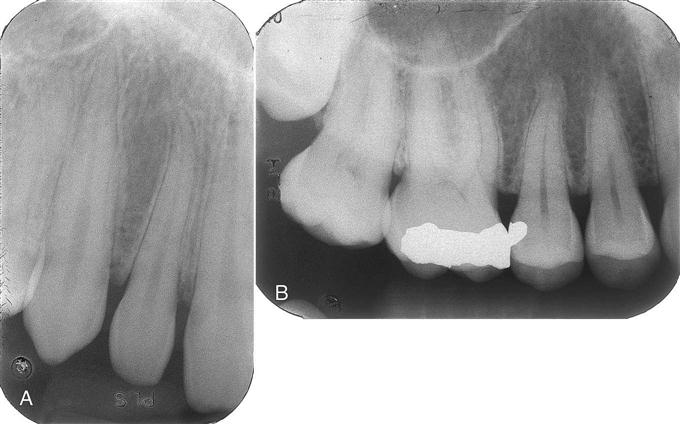
An intraoral full-mouth survey (FMX) contains both periapical and bitewing images. The bitewing image shows the upper and lower teeth in occlusion. Only the crowns and a small portion of the root are seen. This view is used for detecting interproximal decay, early periodontal disease, recurrent decay under restorations, and the fit of metallic fillings or crowns (Fig. 41-2). The periapical image shows the entire tooth from occlusal surface or incisal edge to about 2 to 3 mm beyond the apex to show the periapical bone. This view is used to diagnose pathologic conditions of the tooth, root, and bone, as well as tooth formation and eruption (Fig. 41-3). Periapicals are essential in endodontics and in oral surgical procedures.
For the average adult, a full-mouth series consists of 18 to 20 images—generally, 14 periapical views and 4 to 6 bitewing views. The number may vary, however, depending on the dentist’s preference and the number of teeth present. For example, for the patient without teeth, 14 periapical views are enough to cover the edentulous arches; bitewings are not necessary. For the patient with a full dentition, the number of periapical views varies depending on whether the paralleling or the bisecting technique is used.
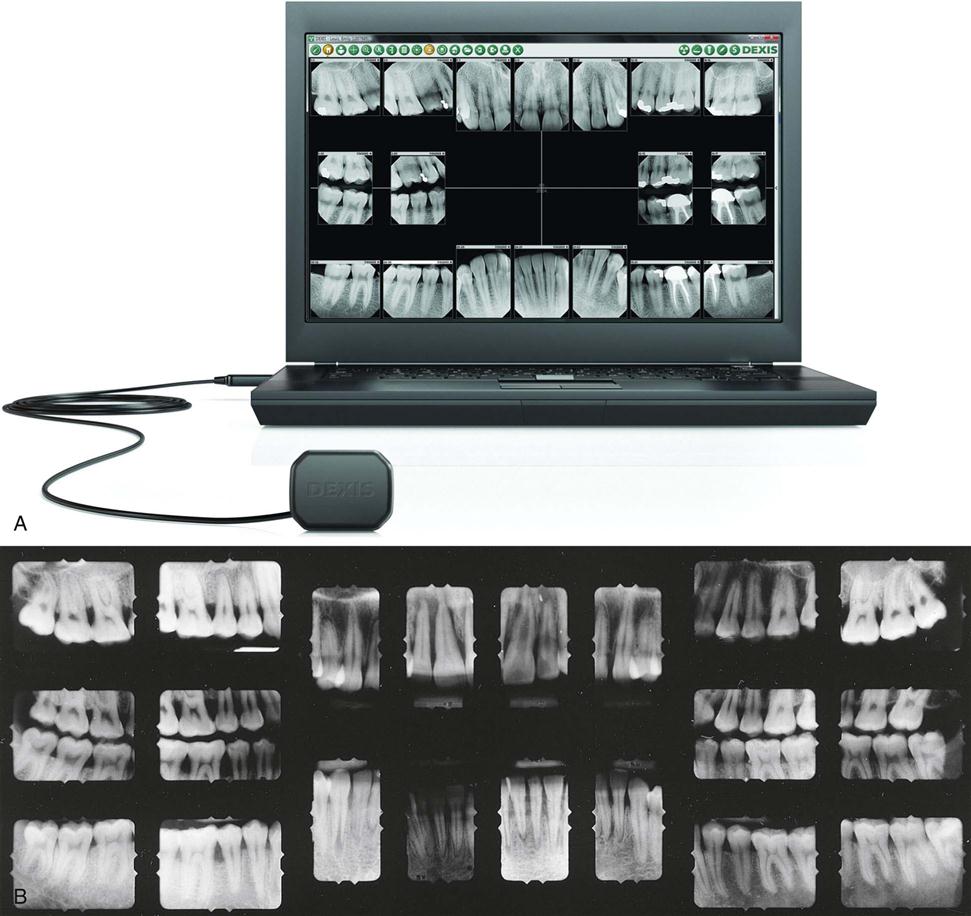
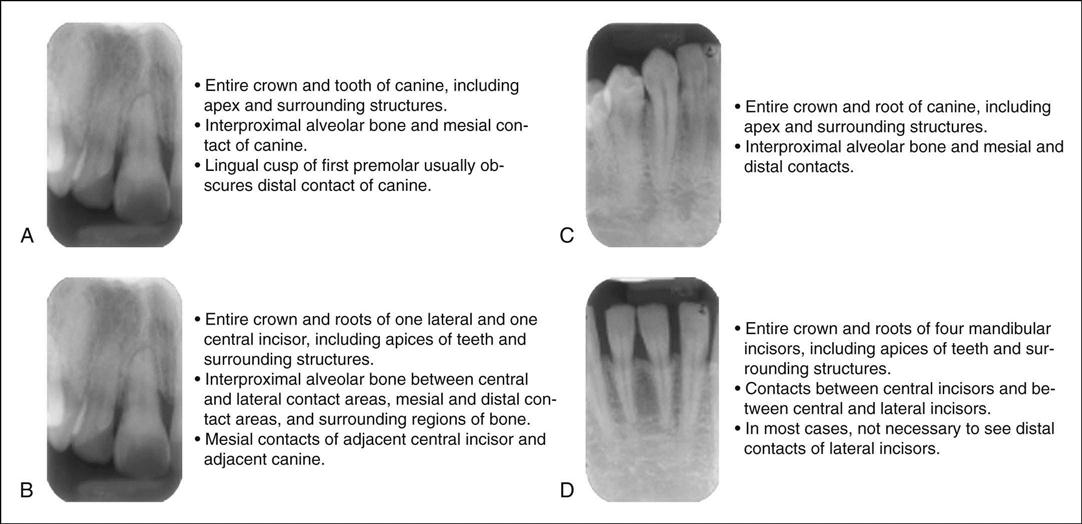
The anterior area is the region in which the number of images varies. Variables include the size of the sensor, if you are using digital, and the technique used (Fig. 41-4, A). When using dental film and the bisecting technique, three anterior views are taken on each arch (maxillary and mandibular) with size #2 film. For the paralleling technique, three or four size #1 films would be used on each arch (Fig. 41-4, B).
Intraoral Imaging Techniques
Whether using conventional film, digital sensors, or PSPs, two basic techniques can be used to obtain periapical images: the paralleling technique and the bisecting (bisection of the angle) technique. The American Academy of Oral and Maxillofacial Radiology and the American Association of Dental Schools recommend use of the paralleling technique because it provides the most accurate image with the least amount of radiation exposure to the patient. In some situations, however, such as a small mouth, a shallow palate, or tori, the operator may need to use the bisecting technique. This chapter provides step-by-step procedures on how to produce diagnostic-quality images with both techniques (Fig. 41-5).
Paralleling Technique
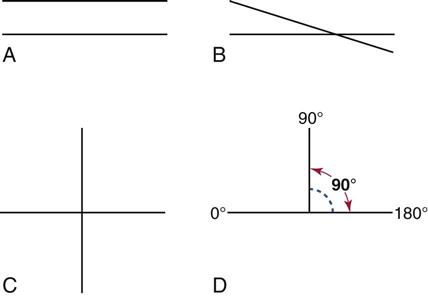
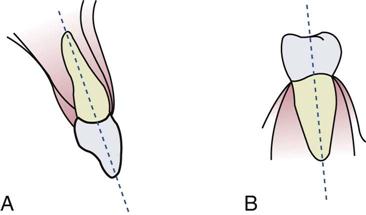
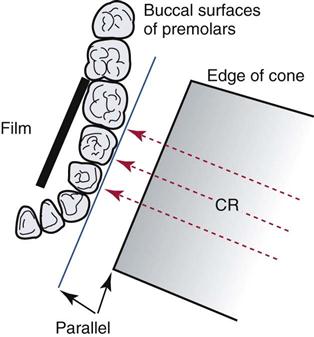
The paralleling technique is also known as the extension-cone paralleling (XCP), right-angle, or long-cone technique. To use the paralleling technique competently, you must understand the terminology, including parallel (Fig. 41-6), intersecting, perpendicular, right angle, long axis of the tooth (Fig. 41-7), and central ray, in addition to the five basic rules.
Five Basic Rules
The following basic rules must be followed when the paralleling technique is used:
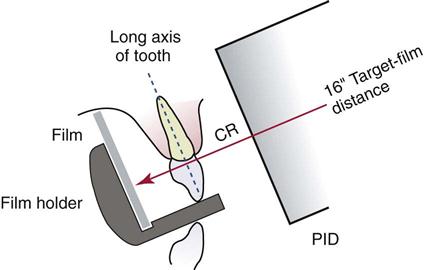
2 Image receptor position. The image receptor must be positioned parallel to the long axis of the tooth. The image receptor, in the appropriate holder (positioning instrument), must be placed away from the teeth and toward the middle of the mouth (Fig. 41-8).
4 Horizontal angulation. The central ray of the x-ray beam must be directed through the contact areas between the teeth (Fig. 41-9).
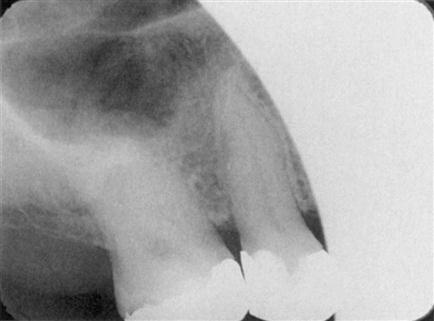
5 Central ray. The x-ray beam must be centered on the image receptor to ensure that all areas are exposed. Failure to center the x-ray beam results in a partial image, or cone cut (Fig. 41-10).
Patient Preparation
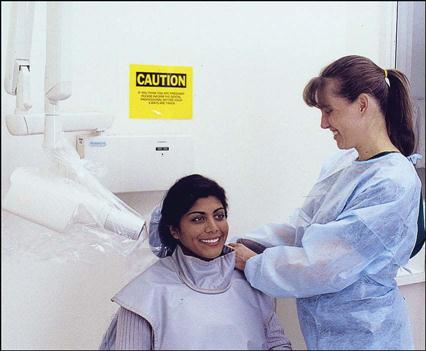
The patient who is having dental images taken should be seated after the room has been prepared and infection control procedures completed. See Procedure 41-1.
Exposure Sequence for Image Receptor Placement
You should plan an exposure sequence, or a definite order, for periapical image receptor placement when you are exposing images. When working with dental film without a planned exposure sequence, you are more likely to omit an area or to expose the same area twice. This does not occur as easily when using direct digital imaging because the image most recently exposed appears on the computer screen.
Anterior Exposure Sequence
When exposing periapical views with the paralleling technique, always start with the anterior teeth (canines and incisors) for the following reasons:
• The size of the anterior image receptor (#1) is small and is easier for patients to tolerate.
• Patients more easily adapt to the anterior image receptor holder.
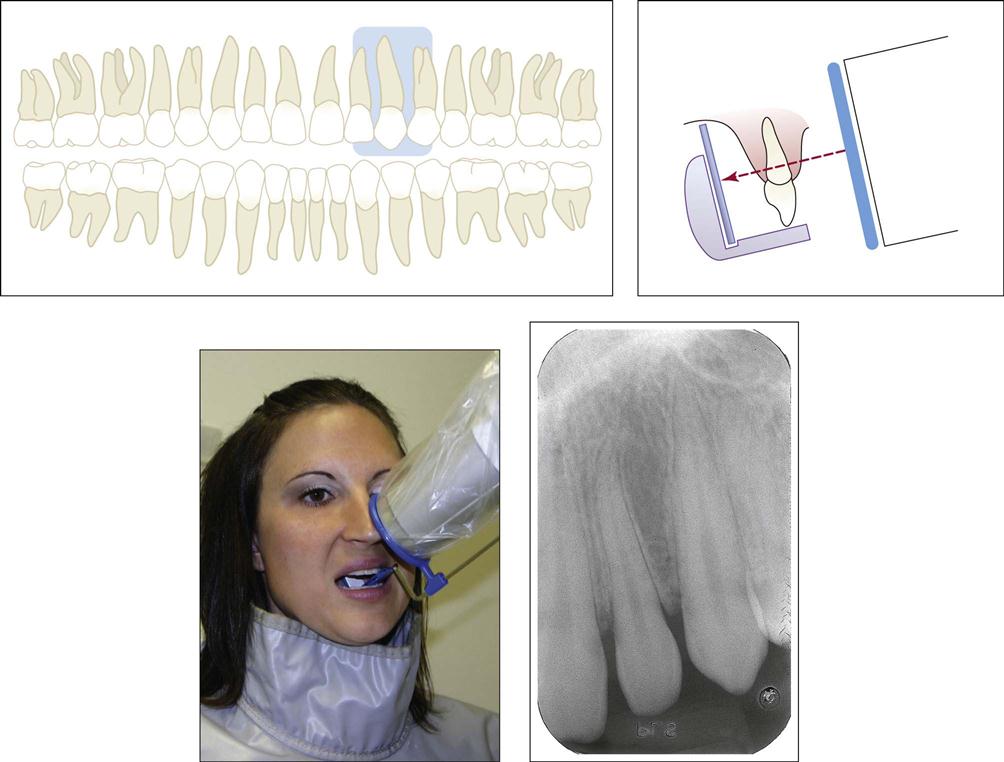
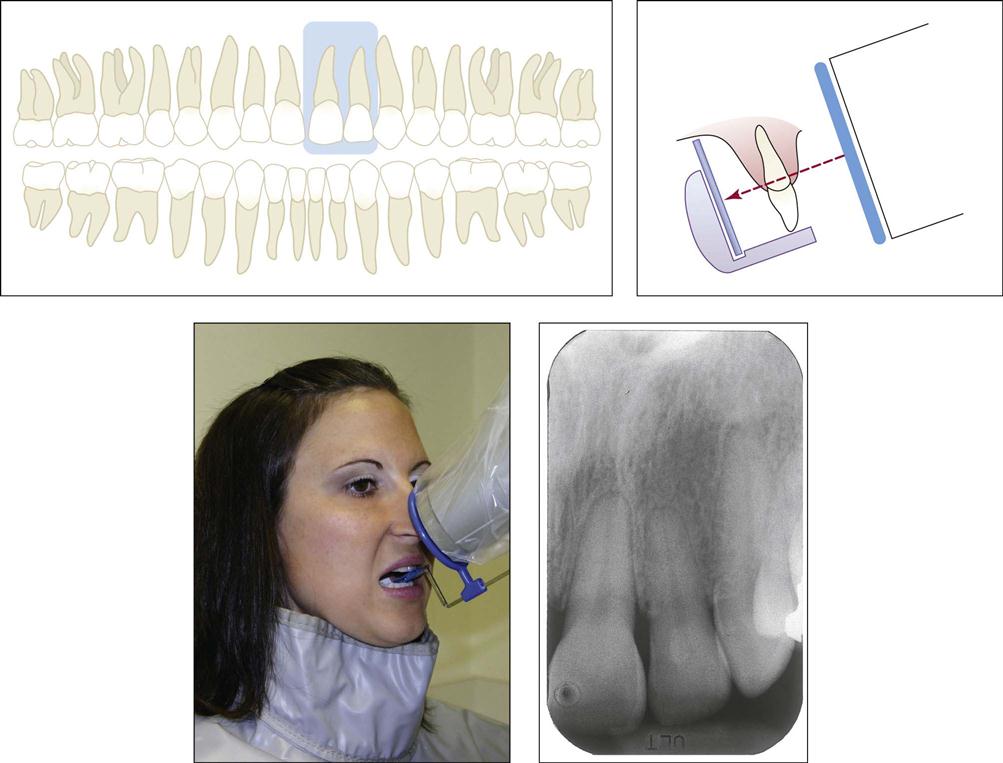
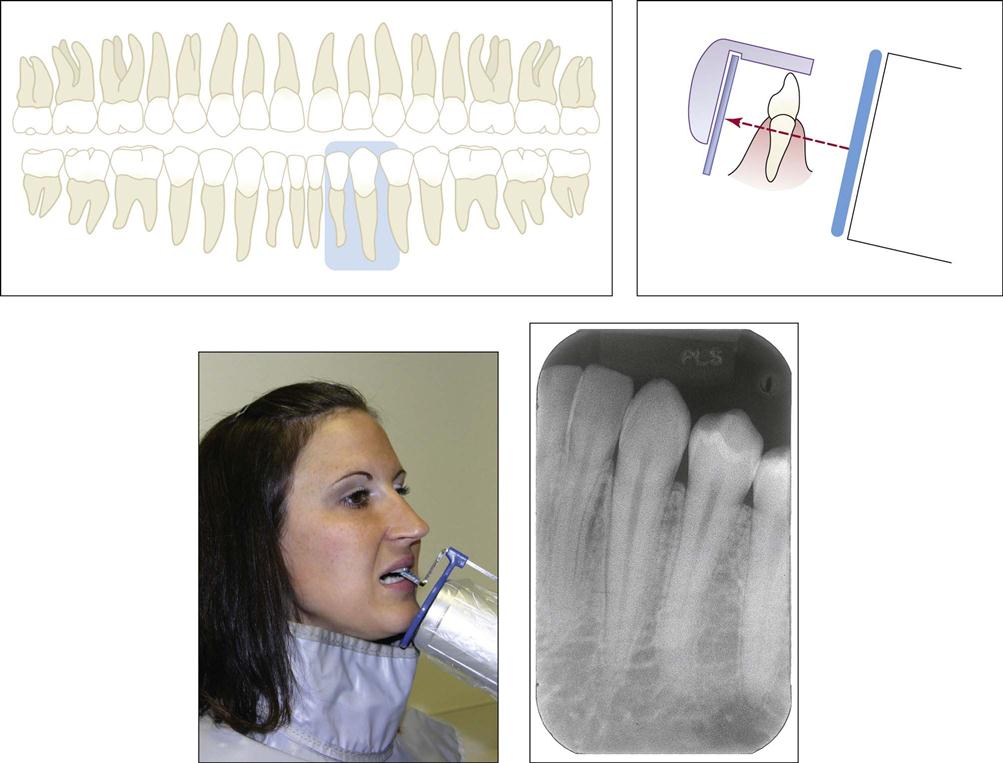
When using a size #1 film, a total of seven or eight anterior placements are used in the paralleling technique: four maxillary exposures and three mandibular exposures (Fig. 41-11). Some operators will choose to expose four maxillary and four mandibular anterior views. If size #2 film or small sensors are used instead, six anterior placements are needed: three maxillary and three mandibular exposures. The authors recommend the use of #1 film or the smallest sized sensor for the anteriors.
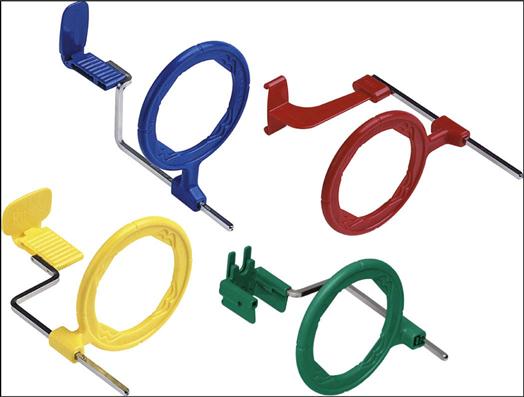
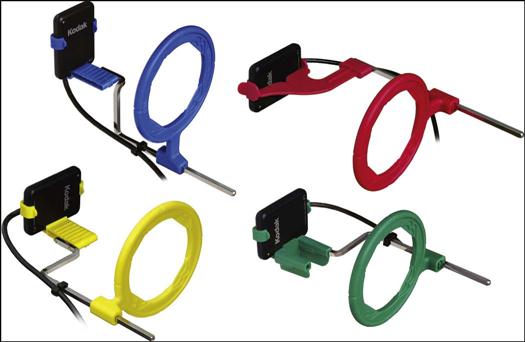
The recommended anterior exposure sequence for the Rinn XCP instruments (Dentsply Rinn, Elgin, Illinois) is as follows:
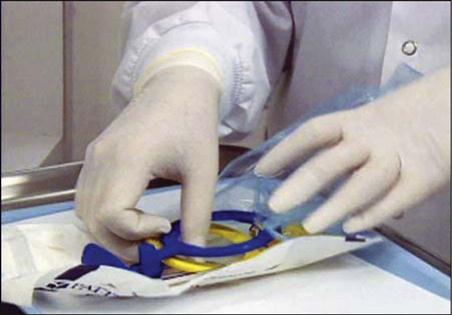
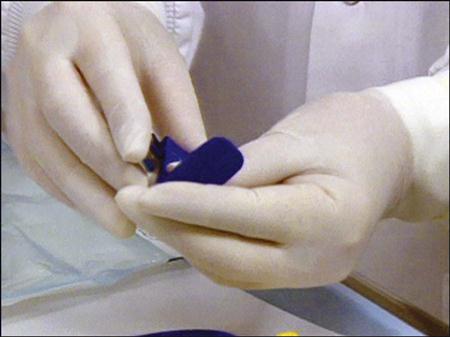
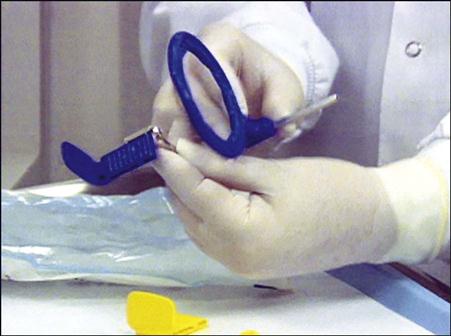
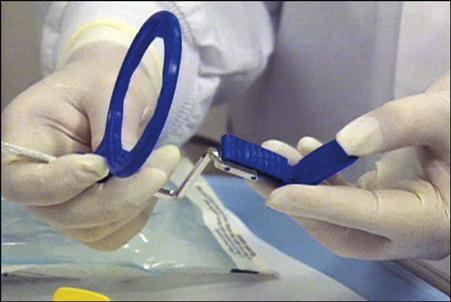
1 Assemble the anterior XCP instrument. See Procedure 41-2.
2 Begin with the maxillary right canine (tooth #6).
3 Expose all maxillary anterior teeth from right to left.
4 End with the maxillary left canine (tooth #11).
5 Move to the mandibular arch.
6 Begin with the mandibular left canine (tooth #22).
Stay updated, free dental videos. Join our Telegram channel

VIDEdental - Online dental courses


